Permissions:
Buckets are virtual “containers” to use in batch processing item or bibliographic records. They can be used to perform various cataloging/holdings maintenance tasks in batch.
Record Buckets are used to manage bibliographic records. They are also used to merge duplicate records found in the catalog.
Access #
You can open the Record Bucket
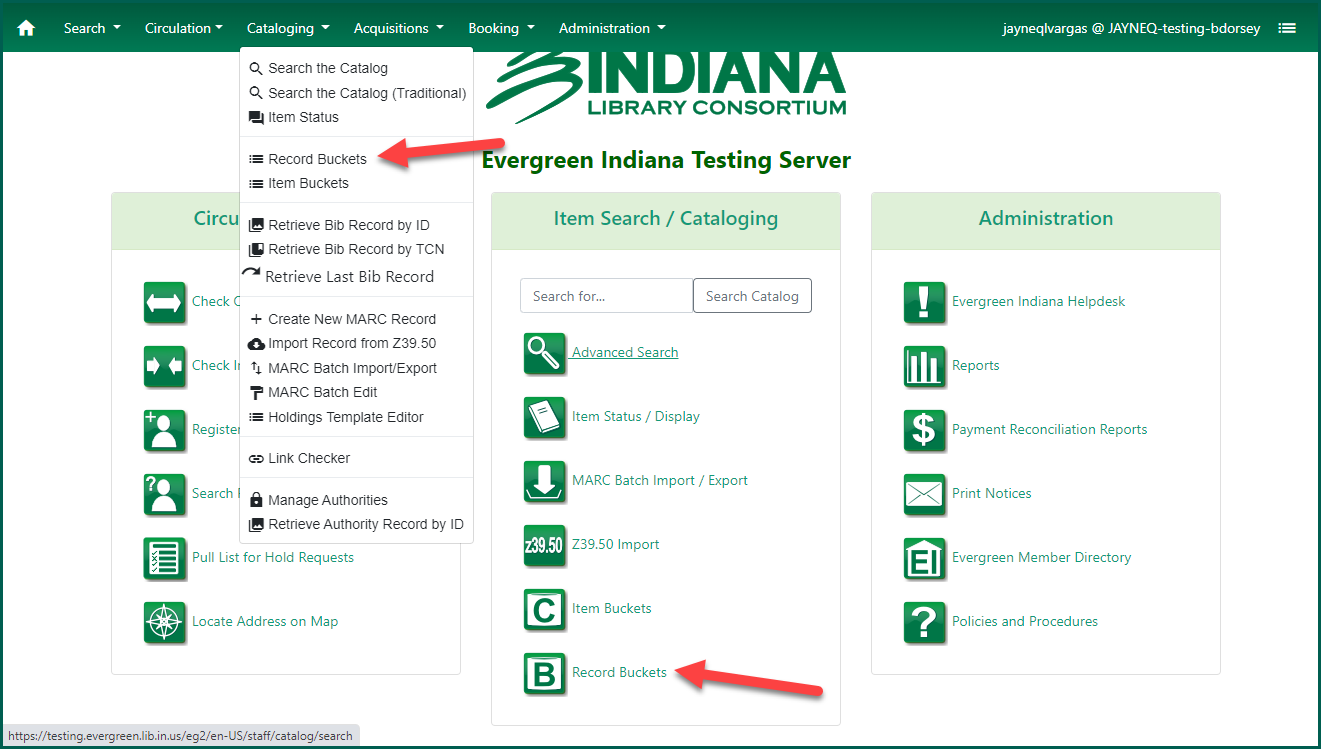
By default, the Record Buckets tool will open on the Bucket
Create a new Record BucketThis is a virtual container of items. See also Record Buckets, Item Buckets, and User Buckets.
#
To create a new Bucket
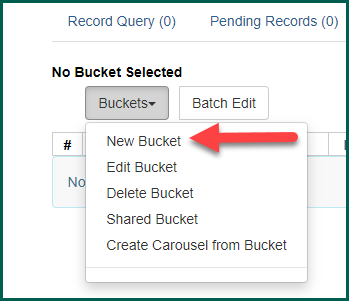
A dialog box will open up:
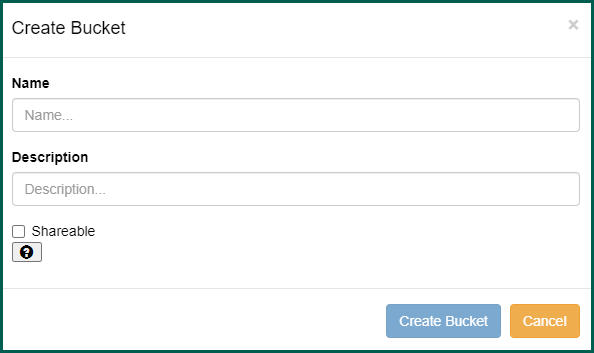
Enter a unique, descriptive name for your Bucket
TIP: The Bucket
If the Bucket
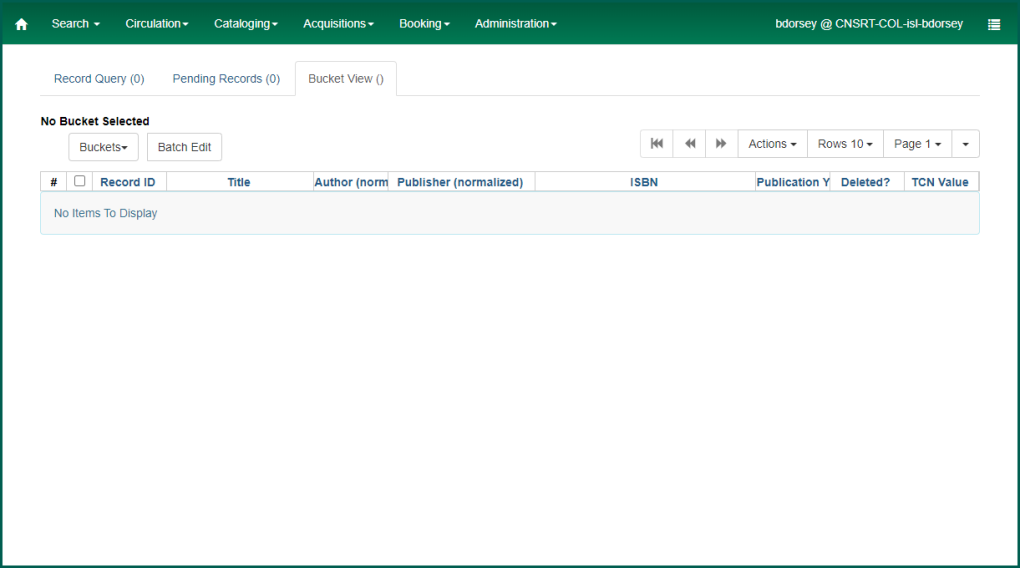
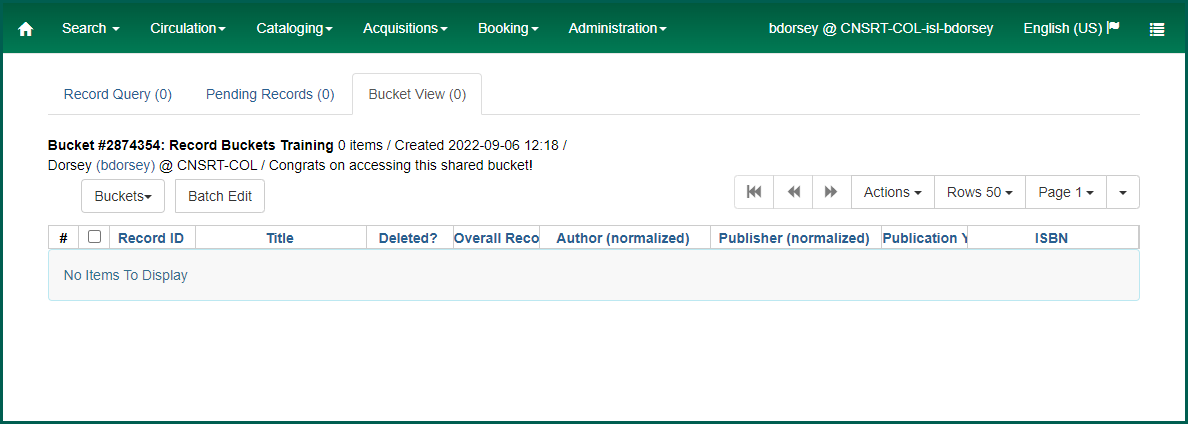
Viewing (Opening) Record Buckets #
To view a record Bucket
Your Bucket
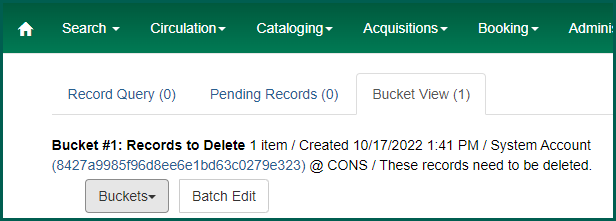
NOTE: All screen views in the Record Bucket
Adding Bibliographic Records to Buckets #
There are a few different places you can add records to record buckets in Evergreen.
Using the BucketThis is a virtual container of items. See also Record Buckets, Item Buckets, and User Buckets.
Manager #
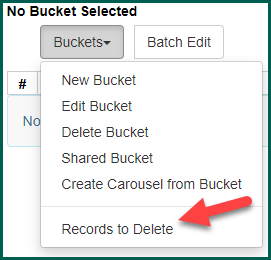
To add records to a Bucket
The Record Bucket
In order to add records directly from the Record Bucket
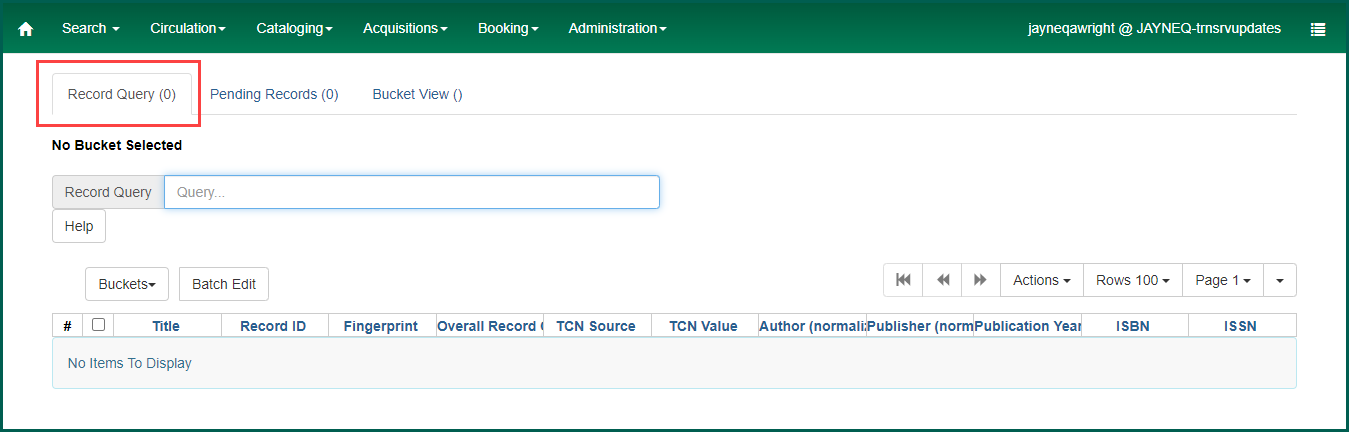
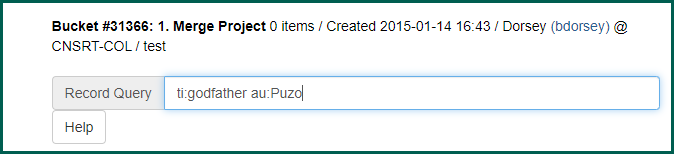
In order to search the catalog via Record Query, you can use various search keys. To see available searching options, click on the Help button:

To perform a catalog search in the Record Query screen, you can combine the search keys listed under the help button. For instance to do a title/author search for The Godfather by Mario Puzo, enter the query as shown:
TIP: When multiple search keys are listed for the same thing, you can use any of them, such as keyword or kw. Authors can be listed in direct order or Surname, Given Name.
TIP: You can limit your search to available items by adding available:1 or available:true to your search. You can also limit your search by format (format: a for books and format: i for nonmusical sound recordings, for example).
After you have entered your desired search terms, press the Enter key. Your results will be displayed below. The total number of records retrieved from your search query will display at the top in the Record Query tab.
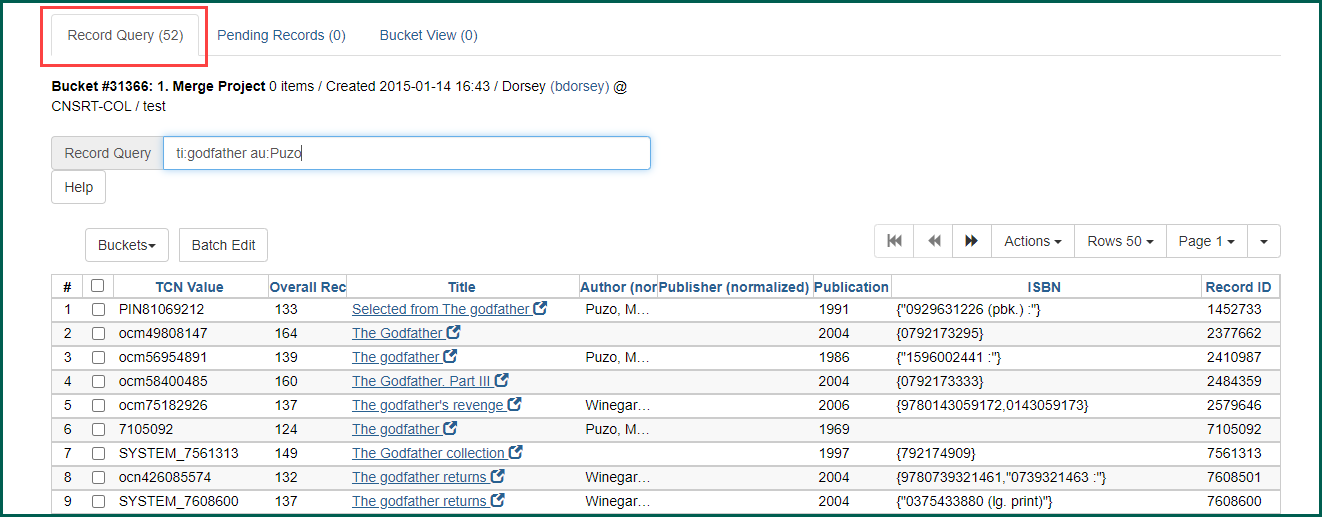
Within the query tab, you can sort your list by clicking on the blue headings at the top of each column. For example, clicking on ISBN will sort the list by ISBN.

You can limit the number of search results by selecting an option from the Rows drop down menu. The maximum number you can display is 100. If your search results are over 100, you will need to select another Page from the adjacent drop down menu or click the arrow buttons to see the rest of your results.

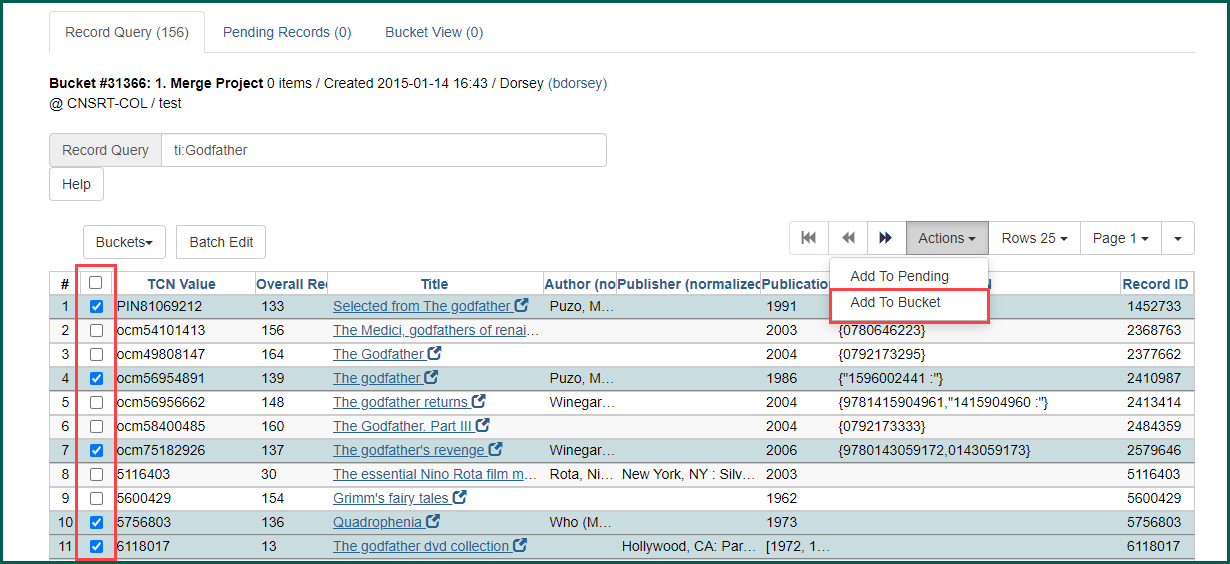
You can transfer any or all of the records from the Record Query tab to the Pending Records tab or you can put them directly into your open Bucket
Highlight the records you would like to transfer. You can select specific records by checking the box next to each record or by pressing the Ctrl key as you click the line to highlight it. You can also press the Ctrl key as you click a highlighted line to remove the highlight. If you want to highlight a large group all at once, press the Shift key as you click from one line to another. If you want to select all records, you can click the uppermost check box. To transfer the records you have selected to your open Bucket
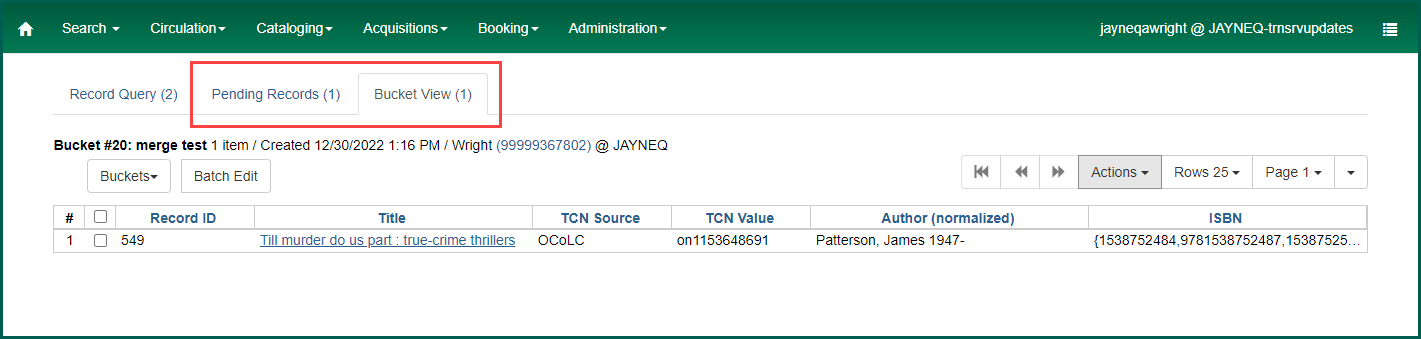
The only change you will see is that the Bucket
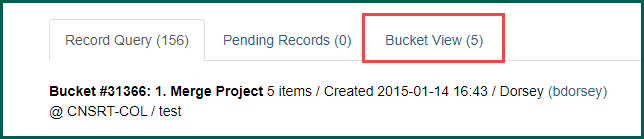
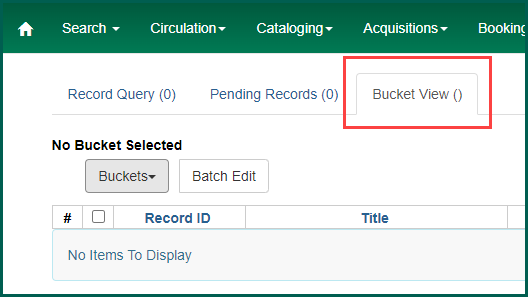
To view the records in your Bucket
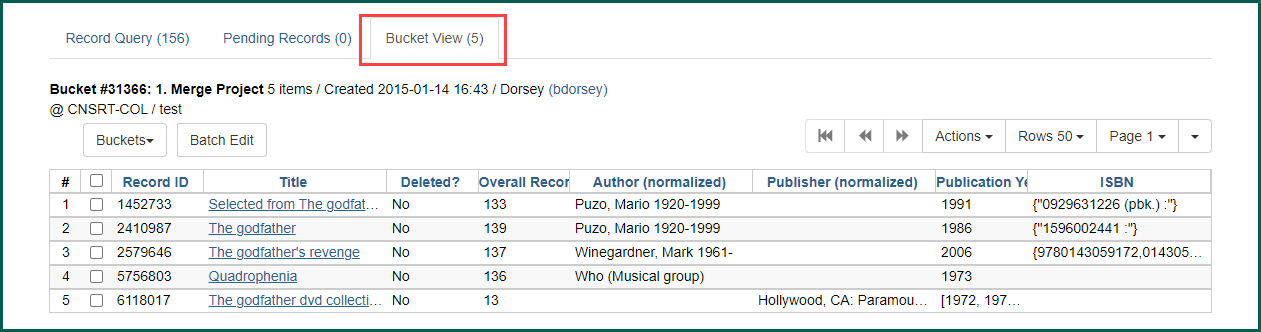
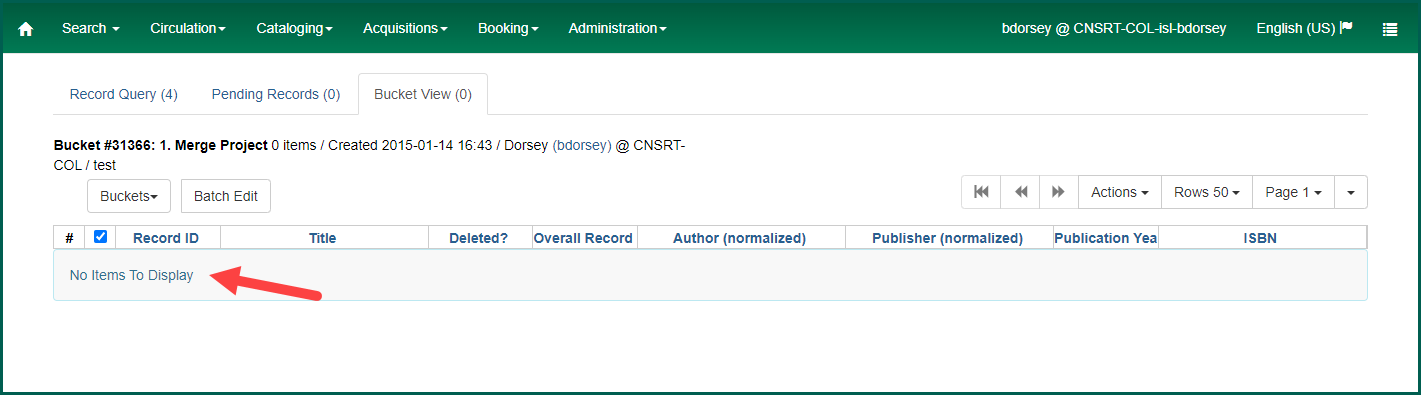
NOTE: If there are no records displaying in your Bucket
Using Bibliographic recordThe record that contains data about a work, such as title, author and copyright date. A bibliographic record may have zero or more item attached, which are the things that (may) circulate.
Summary Pages #
You can also add a record to a Bucket
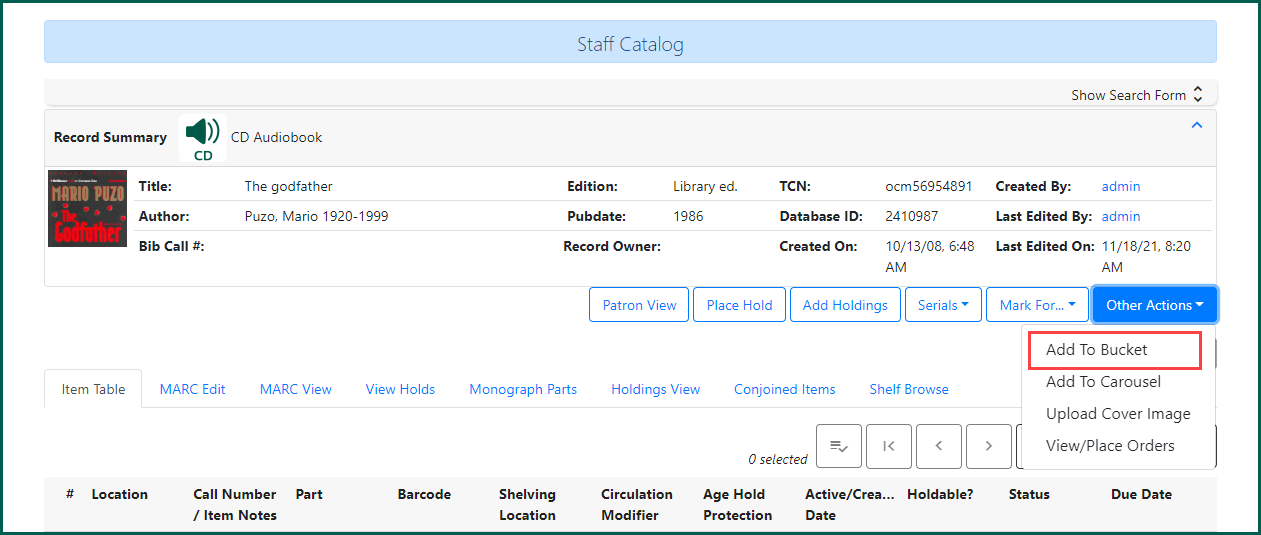
The Add to Bucket
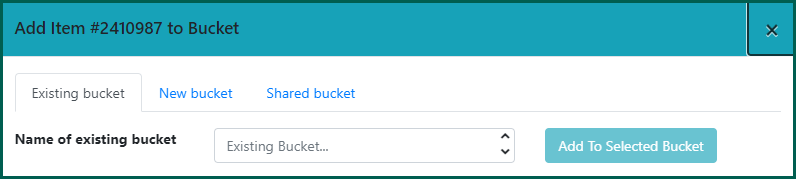
To add a record to a Bucket
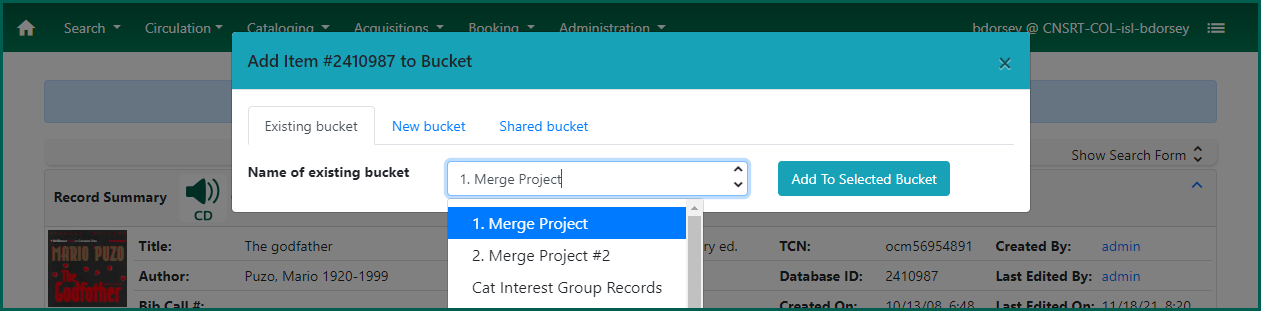
You can also create a new Bucket
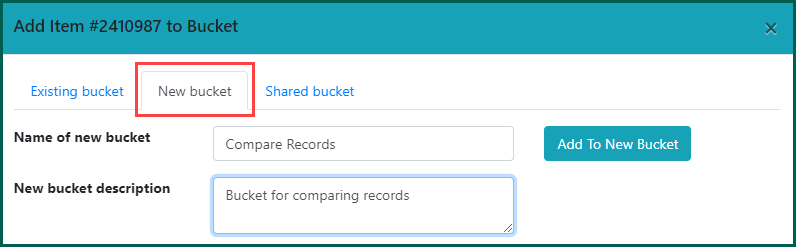
To add the record to a shared Bucket
Once you’ve added the record to a Bucket
Using Baskets #
You also can add records to a Bucket
NOTE: The basket contents will stay static if multiple searches are made.
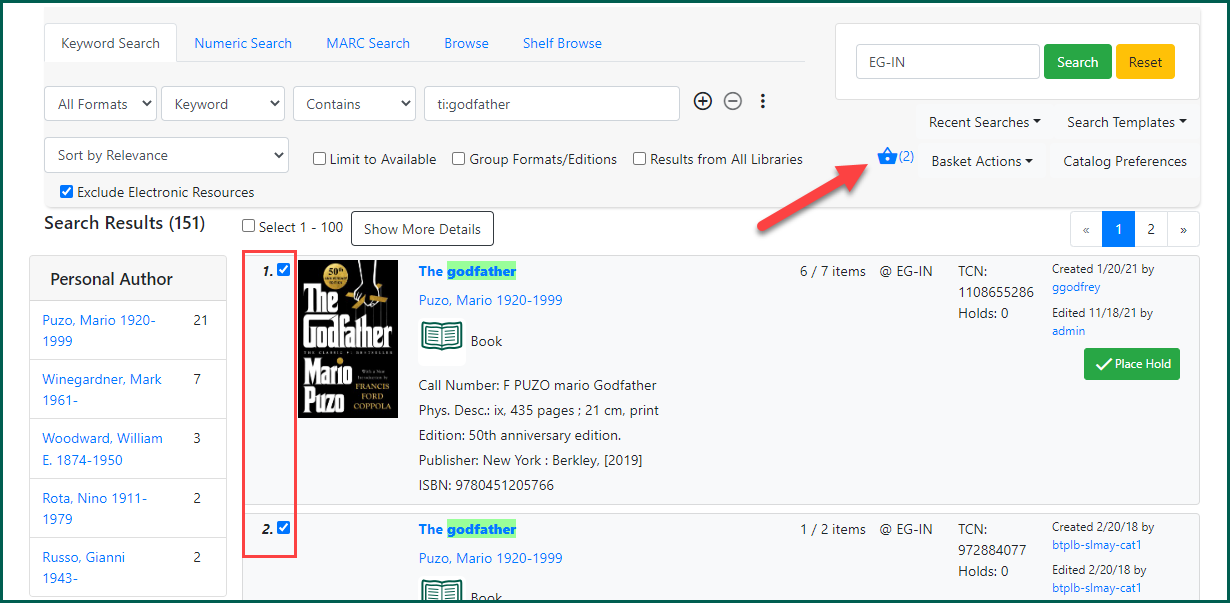
When you are finished adding records to your basket, go to the Basket Actions menu and select Add Basket to Bucket

The Add to Bucket
Using Item StatusItem Status allow syou to see the status of an item without having to go to the actual bibliographic record.
#
Item Status
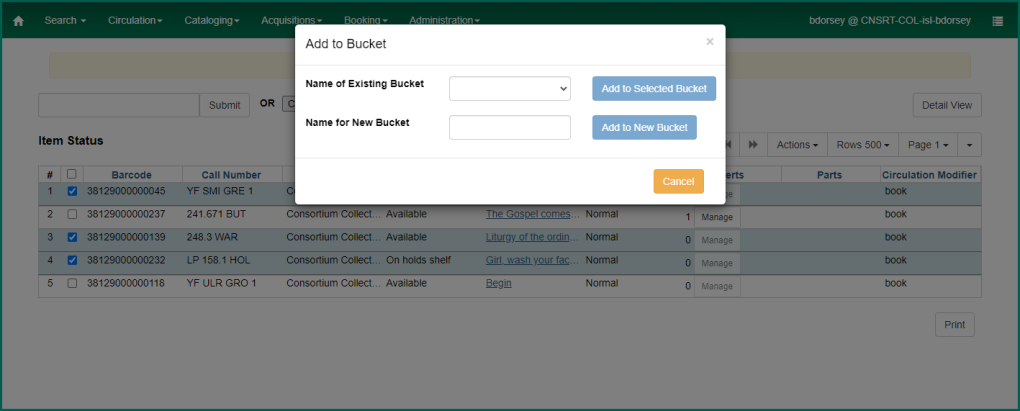
After scanning your items in Item Status
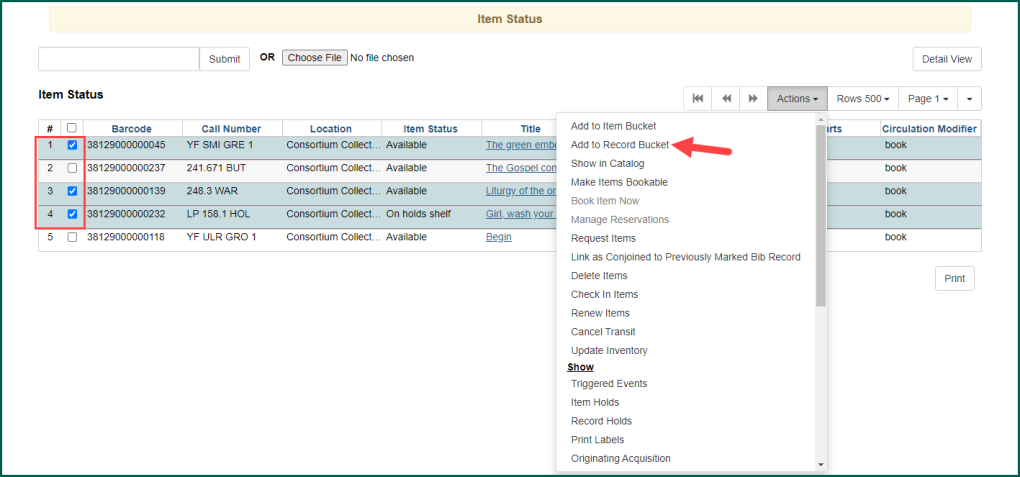
Select the name of an existing Bucket
Merging Records #
The merge function allows you to eliminate duplicate bibliographic records. You select the best record and all attached holdings and any Patron
When merging records, take care to ensure that the records do indeed match. Please use the same criteria for matching records to be merged that you would use to catalog an item. If there is any question as to whether or not the records should be merged, do not merge them. It is much easier to merge records than to unmerge them. Once the records are merged, it can be difficult to determine which items originally belonged on which record if they were merged in error. In cases of doubt, it may be necessary to have the items in hand in order to compare them to each other and to the records.
TIP: If you have accidentally merged records in error, you can file a helpdesk ticket to have the records unmerged. The sooner the ticket is filed, the more likely it is that the merge can be undone. Provide as much information as possible, including when you merged the records and the Record IDs of the records involved. See Helpdesk Tickets if needed.
To merge records, you must add each matching record to be merged to the same record Bucket
TIP: When merging many records into one, adding records to buckets from the record query in the Bucket
NOTE: In addition to Record Query and Bucket
Once you have added your records to a Bucket
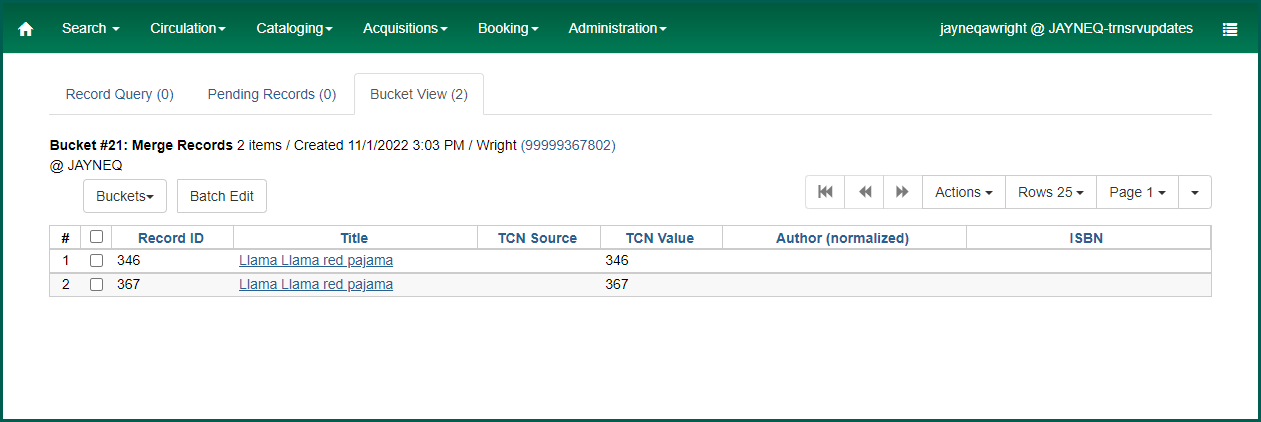
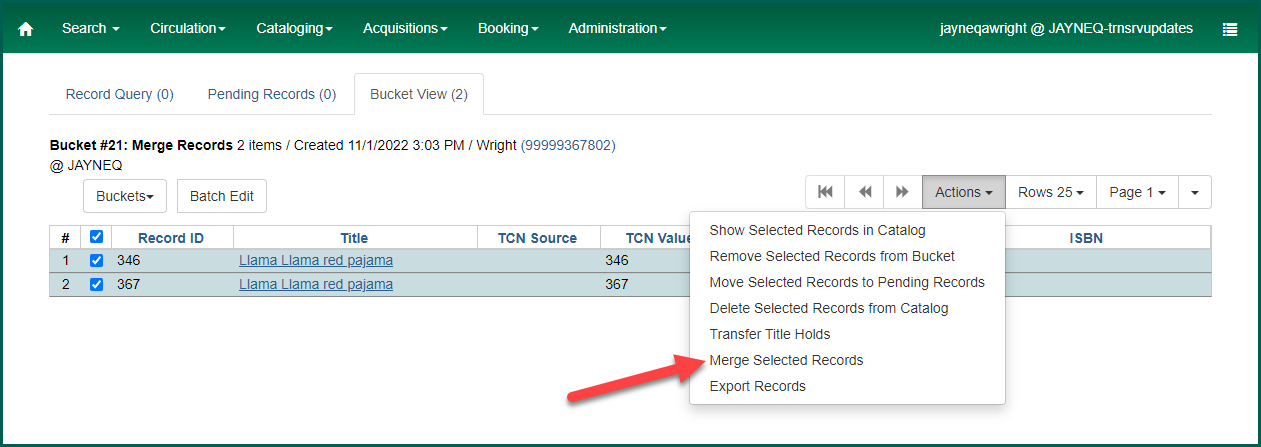
To merge the records in your Bucket
Once you have selected the records to merge, right-click or select Actions and choose Merge Selected Records from the drop down list.
The record merging function will open in a new window. Records are displayed horizontally with the option to show library holdings listed below each bib record.
By default, each record will display a record summary and a MARC View of the Bibliographic record
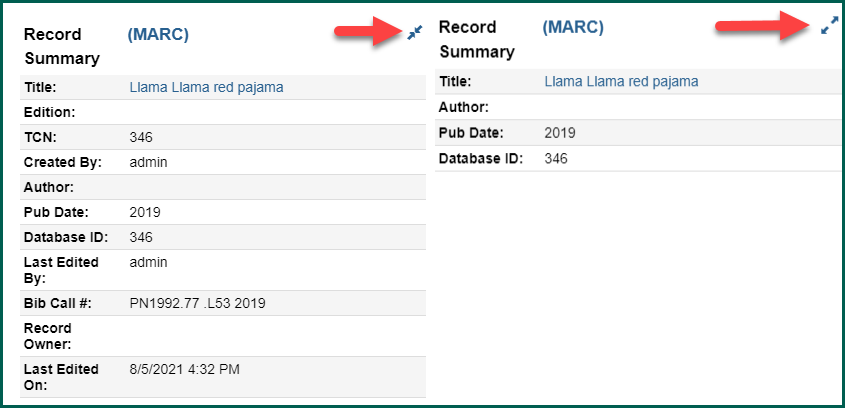
Below the summaries there is the option to Toggle Holdings Display. This will list libraries’ holdings below the MARC.

TIP: When you are merging records, don’t merge too many records at one time. It is easier to merge when you can see them all on the screen at the same time.
At the top of each record, there are two buttons labeled Use as lead record and Remove from consideration. The lead record is the one that will remain in the system. The holdings from the other records will attach to the record selected as the lead record, so you will want to select the best record as the lead. There may be no clear “best” record, and you may need to edit one of the records to include information from another record, such as a summary statement or subject headings, before you merge the records.
Eliminate any records you don’t want to merge by selecting Remove from consideration from each record you want removed. The record will immediately disappear from the display.
NOTE: Records removed from consideration will remain in your Bucket

When you are ready to merge, select Use as lead record for the best record. You cannot merge records without selecting a lead record.
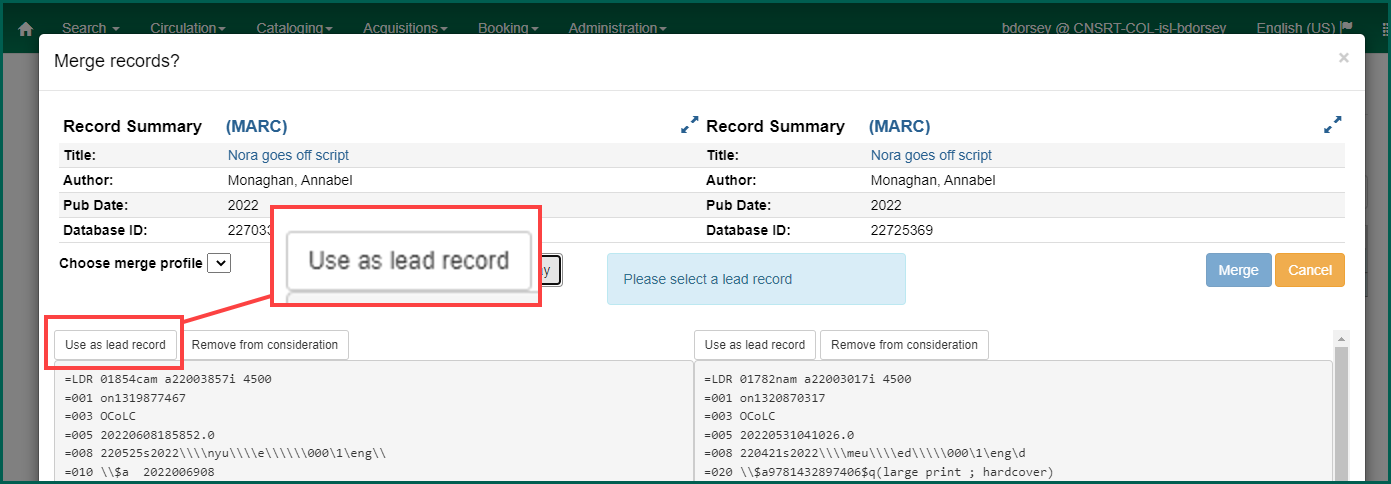
The lead record will move to the left and the non-lead records will stay on the right.
Once Use as lead record is selected, the buttons on the lead record change to allow you to edit the lead. Clicking Edit will display the Enhanced MARC Editor to make edits within the current window. Clicking Edit using full editor will open the record in a new window.
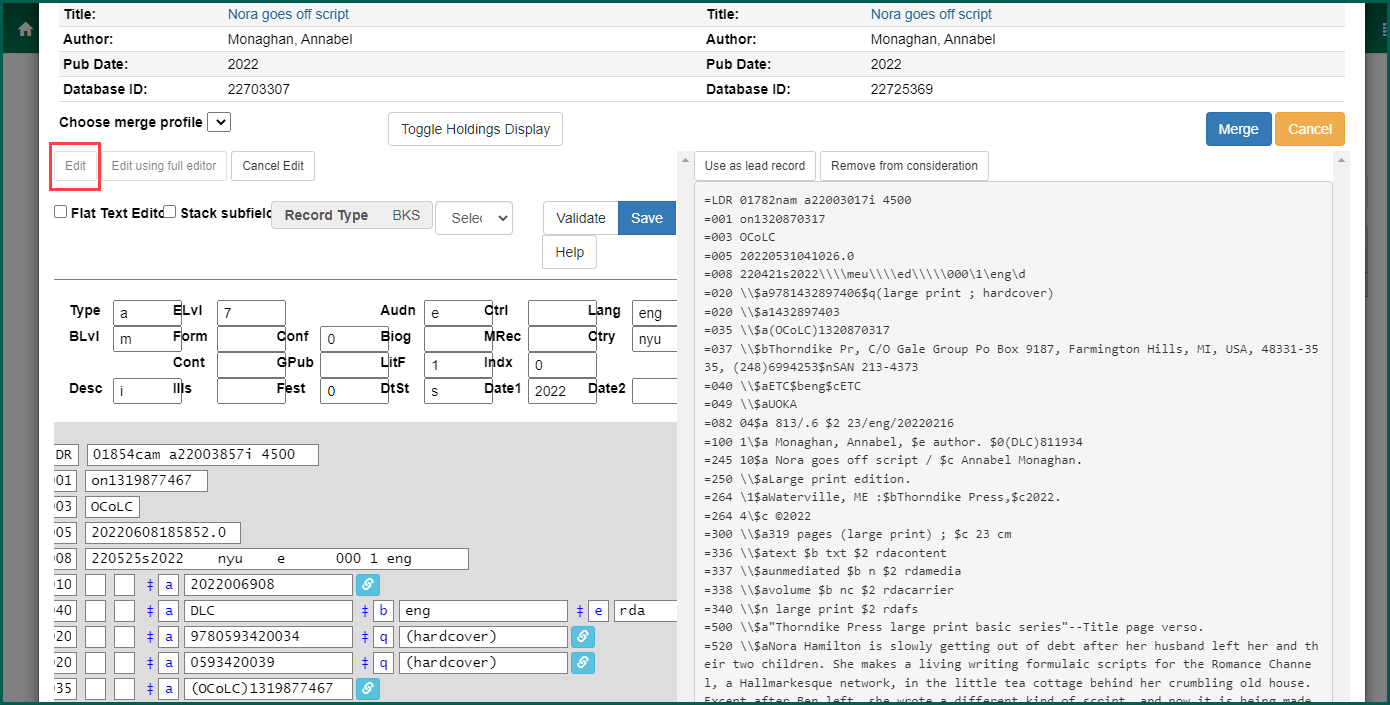
NOTE: Using the Flat Text Editor will allow you to copy and paste fields from the non-lead records into the lead record without modifying any field layout.
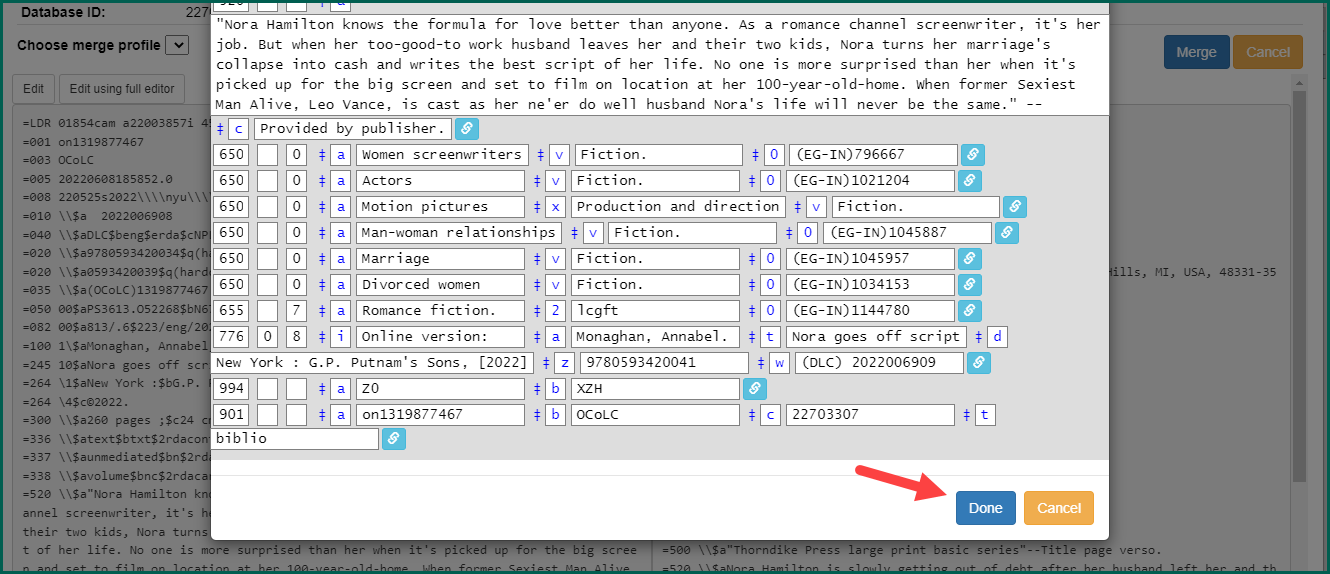
Once edits are complete, click Save. If you made changes to the record using Edit using full editor, you will also need to click Done at the bottom of the window to close out the editor.
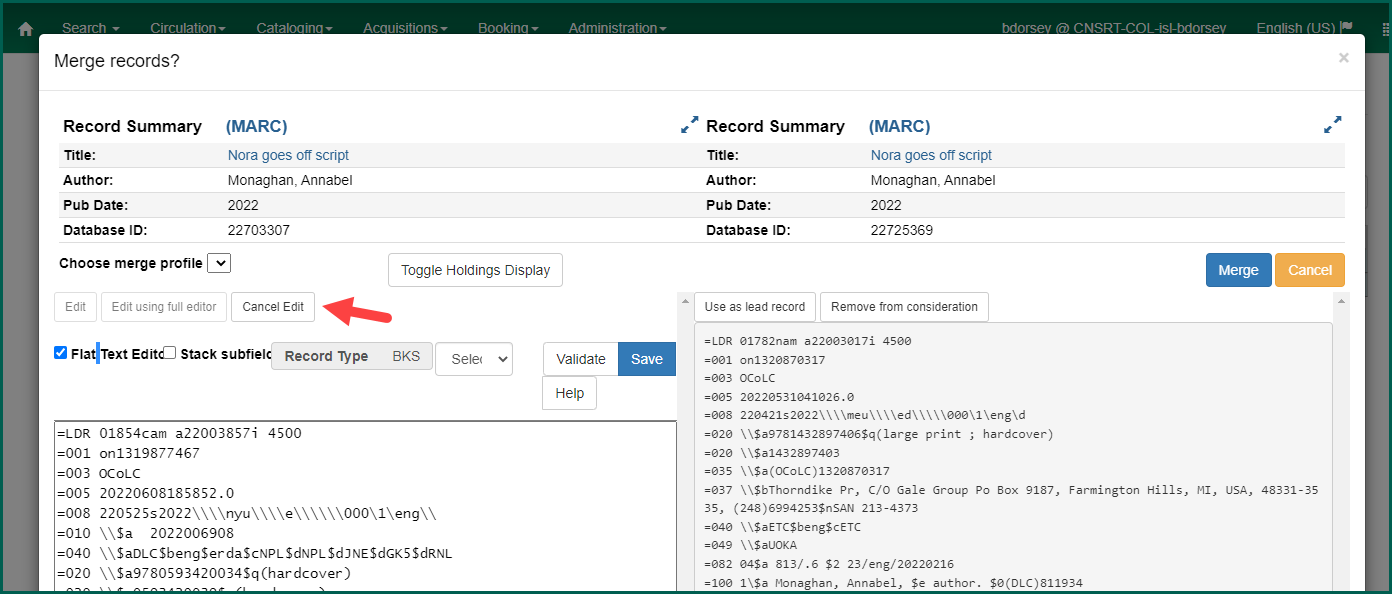
To cancel any edits to the lead record before saving, click Cancel Edit.
Once you’ve finished your edits, finish the merge by selecting the Merge button on the top right-hand side of the screen below the Record Summary.
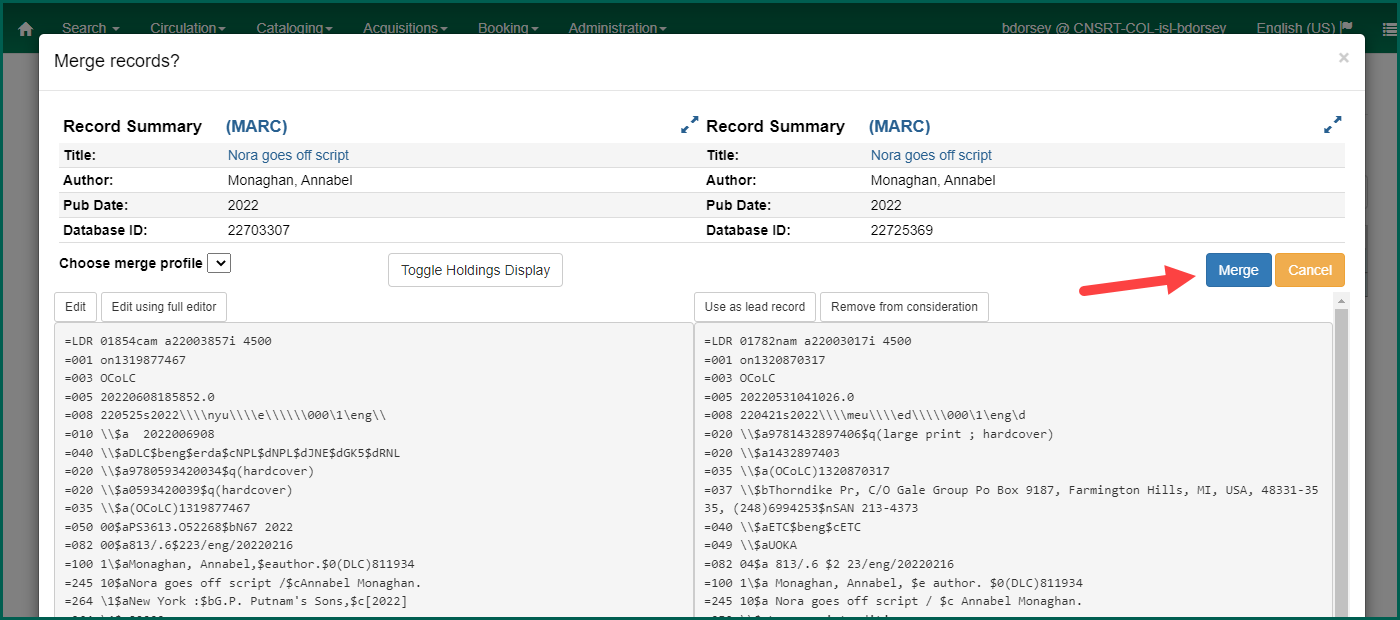
The merge window will close, and the lead record will open up in a new tab.
TIP: If you wish to use the same Bucket
NOTE: If a record being merged, that is not selected as the lead record, has a record note attached, it will be merged onto the lead record.
Record BucketThis is a virtual container of items. See also Record Buckets, Item Buckets, and User Buckets.
Row Actions #
In addition to the Merge Selected Records, there are six other Bucket

The first option is Show Selected Records in Catalog. Selecting this option will open all the records you have selected from your Bucket
The next function is Remove Selected Records from Bucket
From Bucket
TIP:You can select specific records by checking the box next to each record or by pressing the Ctrl key as you click the line to highlight it. You can also press the Ctrl key as you click a highlighted line to remove the highlight. If you want to highlight a large group all at once, press the Shift key as you click from one line to another. If you want to select all records, you can click the uppermost check box.
The screen will refresh, and the records will no longer be displayed in your Bucket
To move records from one Bucket
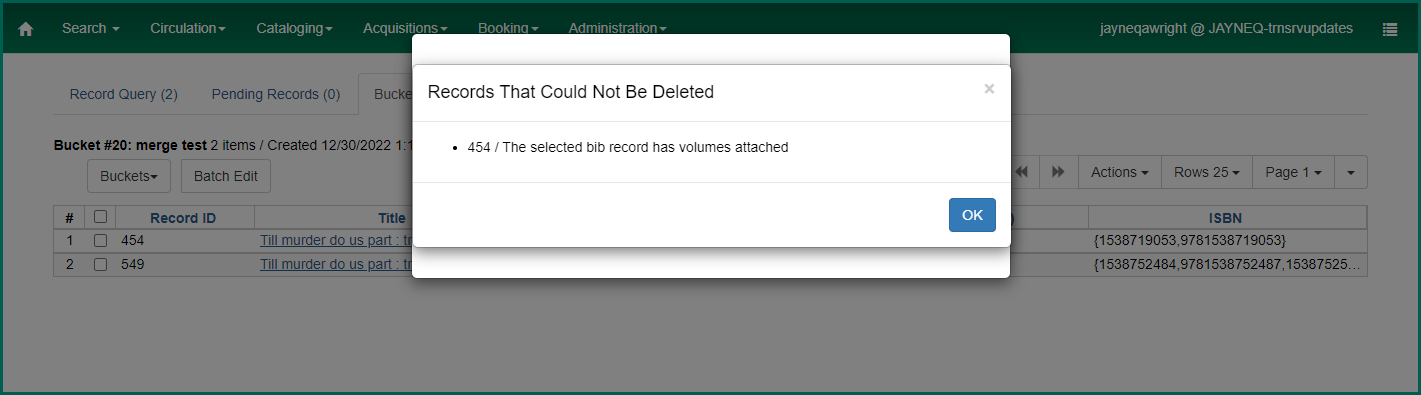
The next option is Delete Selected Records from Catalog. This will only work for items that do not have at least one call number attached. If you attempt to delete a record which has a holding, an error message will appear:
This usually isn’t necessary as records automatically delete from the catalog once the last item is deleted from it.
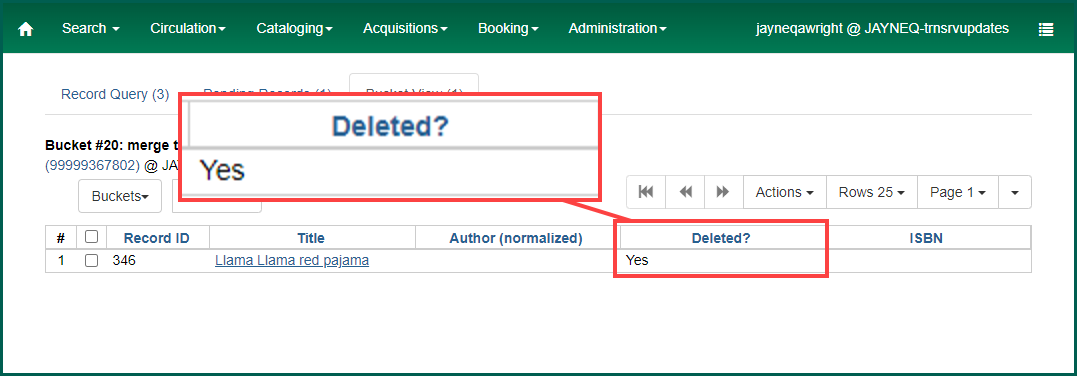
If you are using this function to delete empty bib records, you will be asked to confirm the action:

After selecting OK/Continue, the screen will refresh but the record you deleted will still show in your Bucket
The next function in the list is Transfer Title Holds. This will take all holds that have been placed on the records in your Bucket
A request placed by staff or patrons for materials to be picked up at a selected location (see Pickup Library).
In the staff catalog, view the record you want to transfer holds to and select Title Hold A request placed by staff or patrons for materials to be picked up at a selected location (see Pickup Library).
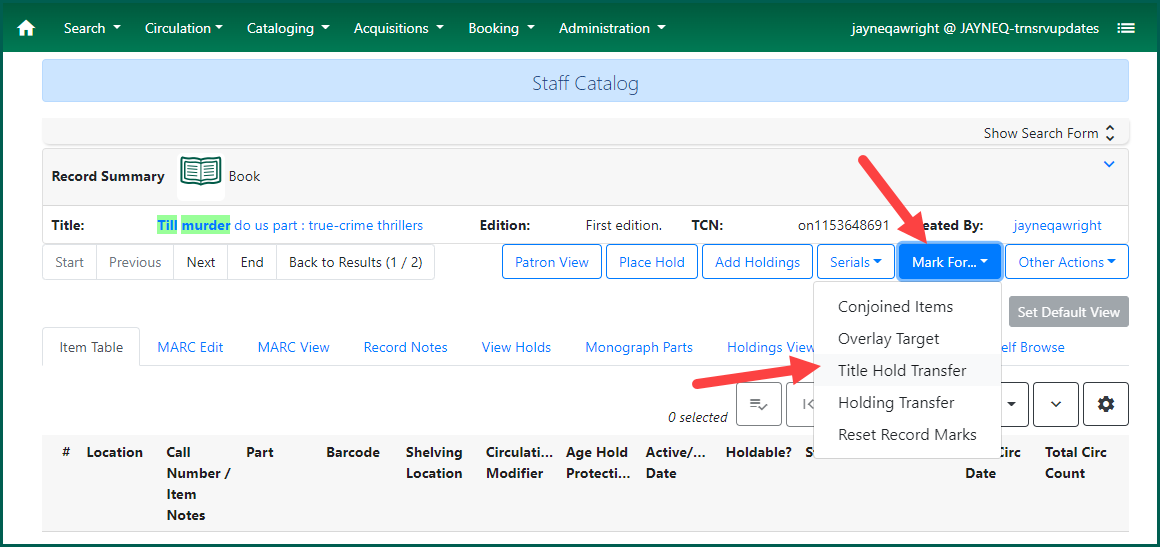
Go back to Bucket

A window will appear asking you to confirm to the transfer to the marked bib record.
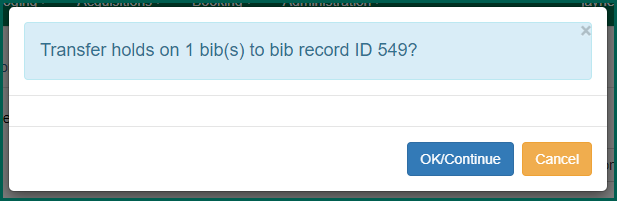
Select OK/Continue. The screen will remain in Bucket
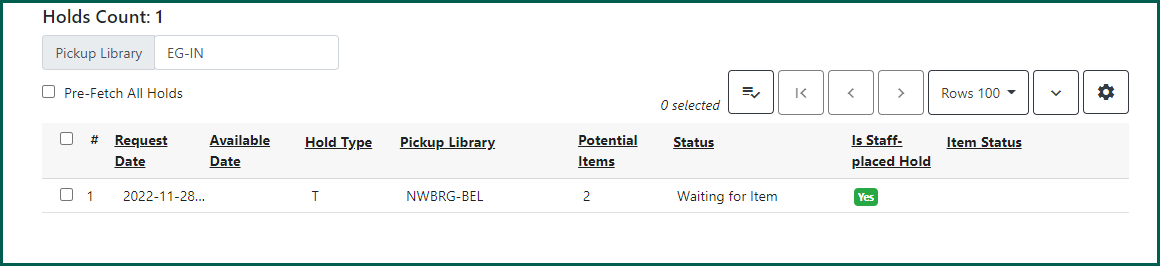
To confirm that the holds successfully transferred, return to the target record and open the View Holds tab. Your Hold A request placed by staff or patrons for materials to be picked up at a selected location (see Pickup Library).
The last function is Export Records. This allows you to export records from your Bucket
Open the Bucket
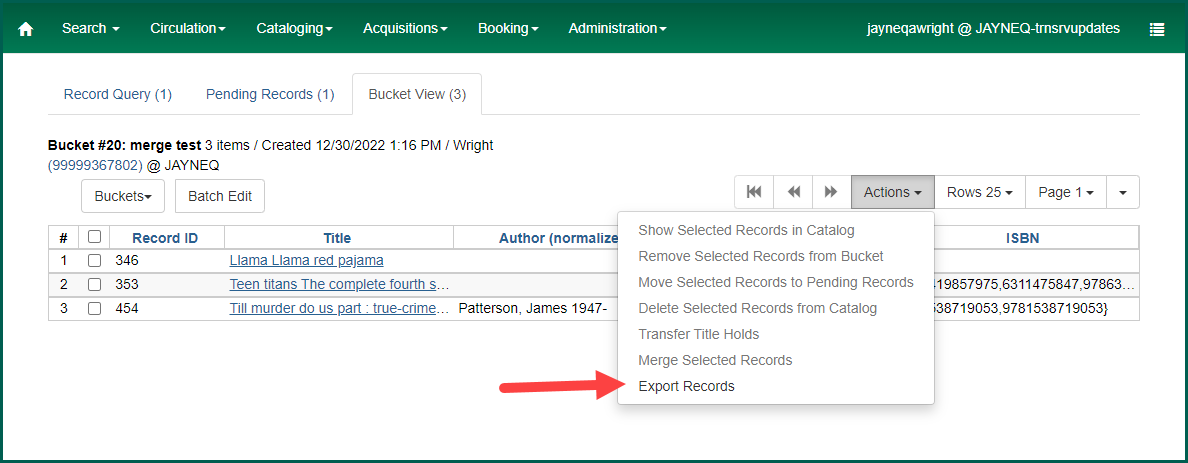
A window will open with formatting options. Select the format you’d like to use, in this case USMARC. You can opt to Include Items which will also export item-level data.
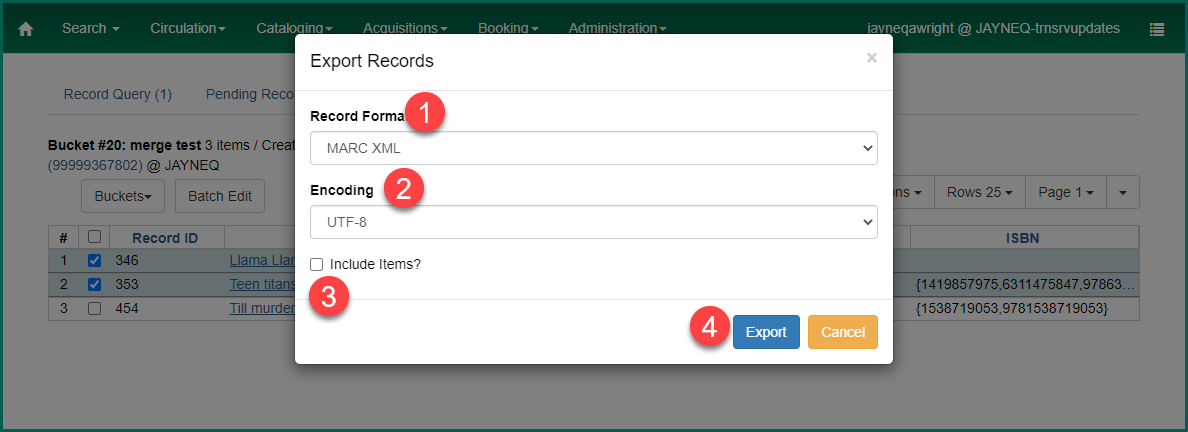
Click on Export. Depending on your browser, the file may download automatically or your computer will ask to save the file to the folder of your choice. In most cases, it will appear in your Downloads folder by default.
NOTE: Even if you do not select all of the records in the Bucket
Sharing Record Buckets #
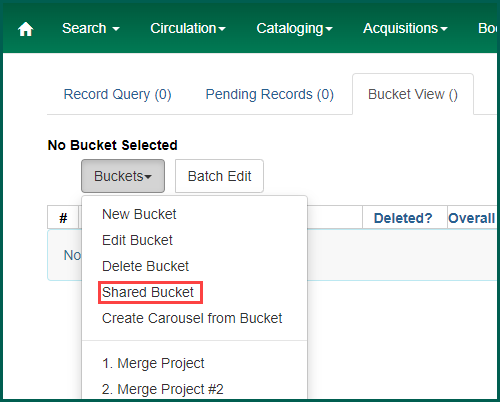
To view a record Bucket
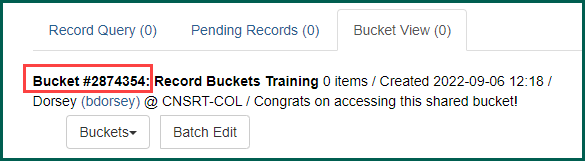
To view a shared record Bucket
A pop up window will ask for the Bucket
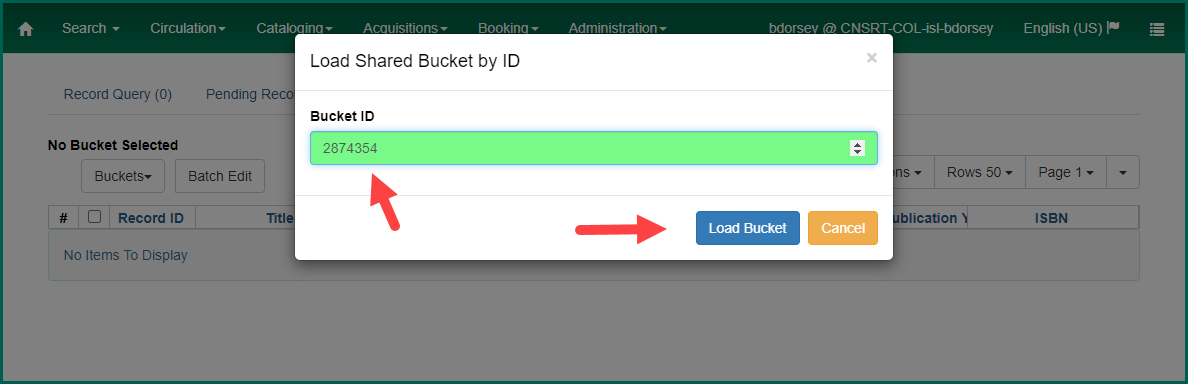
The shared Bucket
You can perform some functions from the Actions menu, but you cannot remove or add records to a Bucket
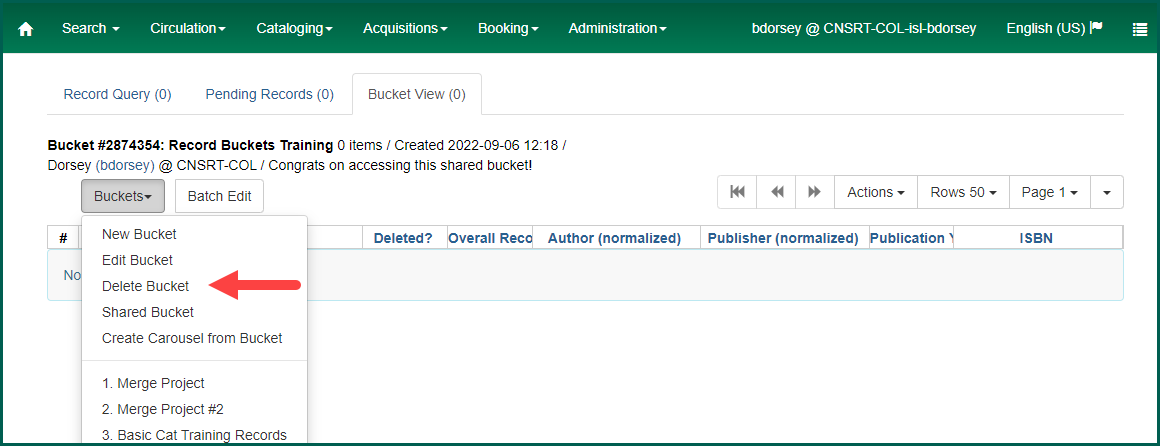
Deleting Record Buckets #
Deleting a Bucket
To delete a Bucket
A window will open asking if you to confirm deleting the Bucket
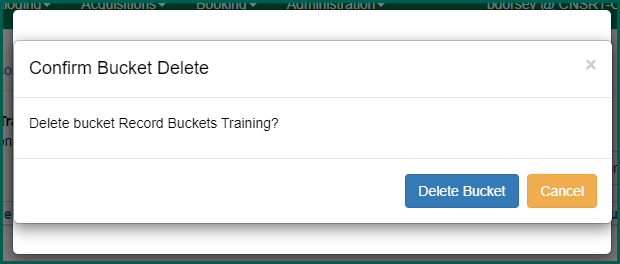
Select Delete Bucket
The deleted Bucket
Batch Edit #
Selecting Batch Edit from an open record Bucket
Open the Bucket
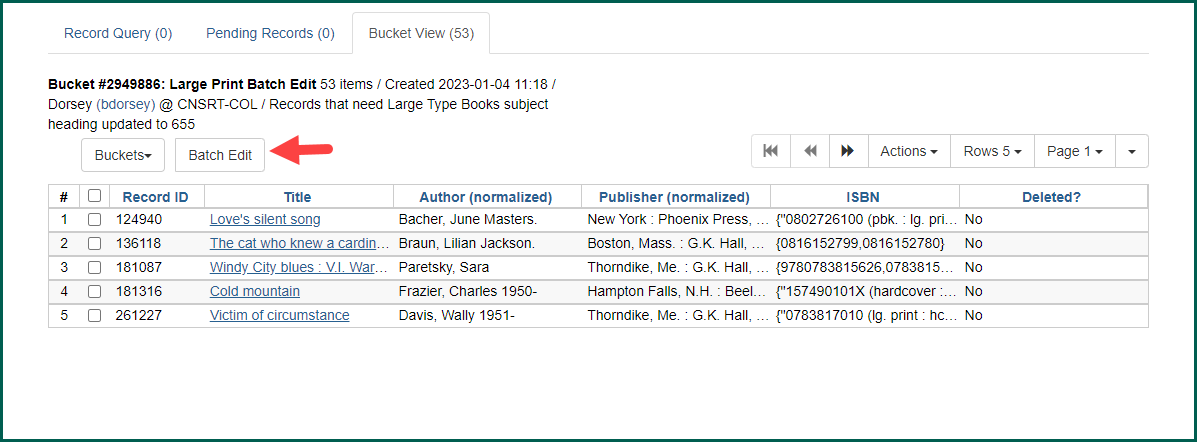
The MARC Batch Edit function will open in a new tab.
TIP: If you do not open MARC Batch Edit through an open record Bucket