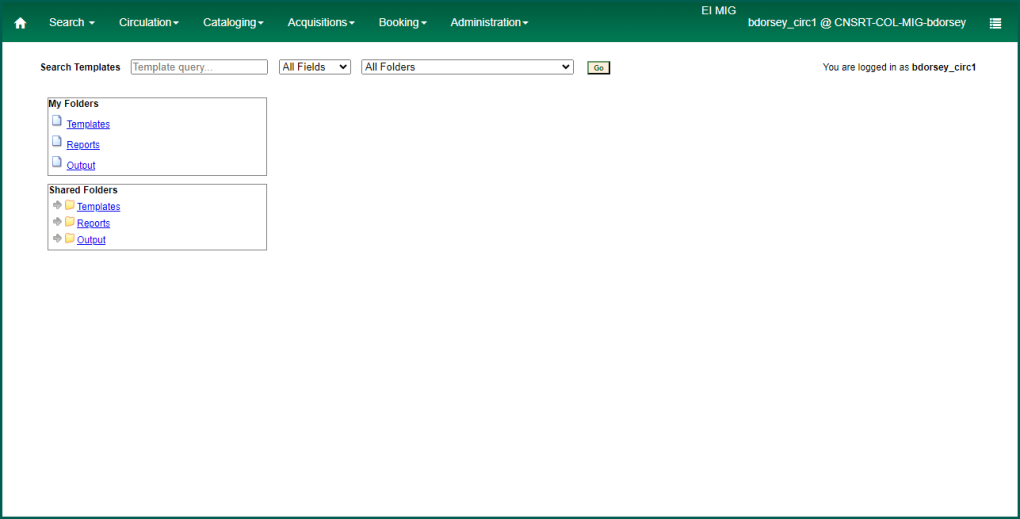
In order to run reports, each account requires configuration and organization. You can also configure your account to share templates and outputs with your staff. When you log in for the first time, you will have no folders or subfolders unless you inherit your account from your predecessor. You can tell that you have no folders because the icon beside each major component of the interface is that of a sheet of paper rather than a folder.
Creating Folders and Subfolders #
Initial Setup #
To create folders, click on the desired level.
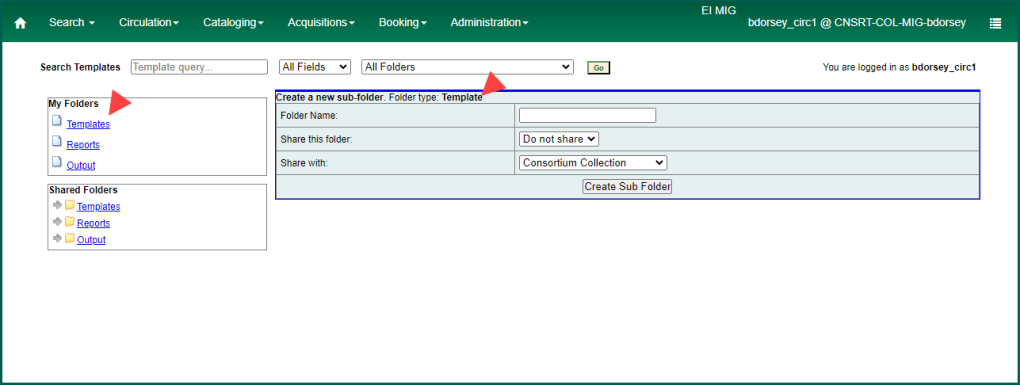
Enter a name for the folder and click on Create Sub Folder to finalize it.
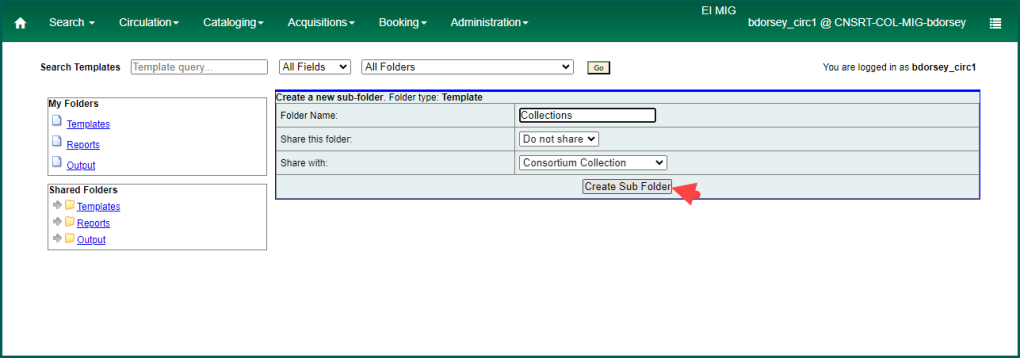
A confirmation will pop up. Click on OK to clear it.

The interface will reload, and the new folder will be visible.
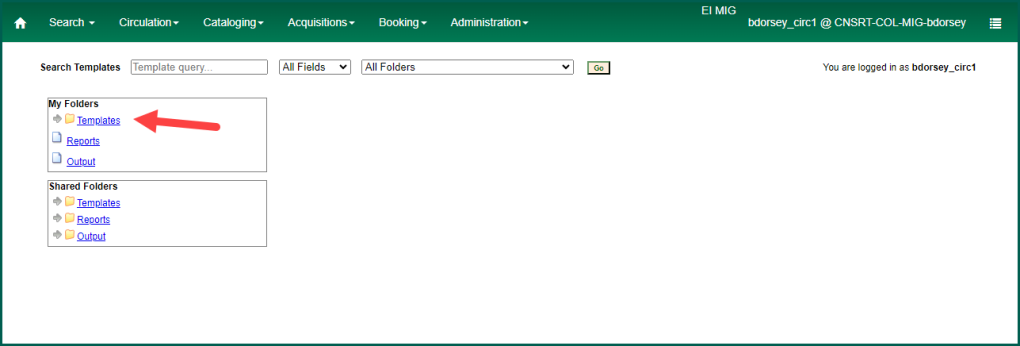
To view the folder, click on the small arrow next to the manila folder icon.

Repeat for each section of your My Folders.
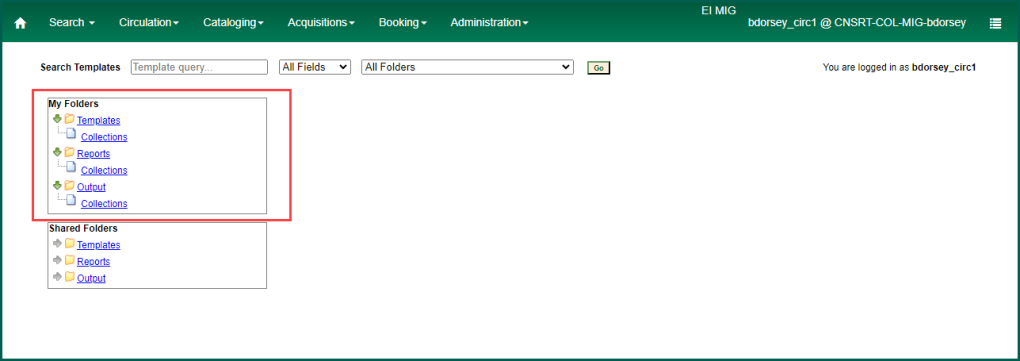
Adding additional top level folders #
To add additional folders to each section, simply click on the section name again. This will reopen the editor and allow you to create additional top level folders. Enter a name, and click on Create Sub folder.
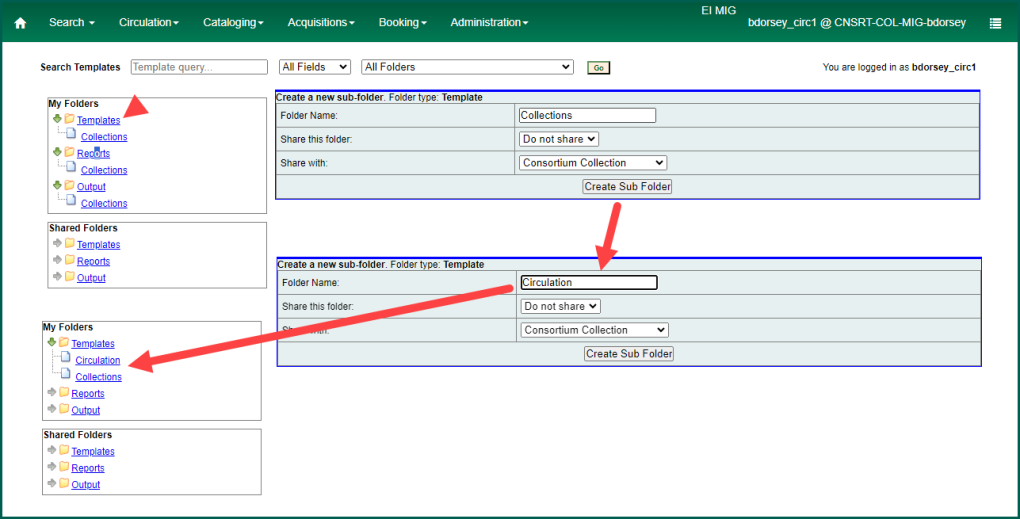
Repeat as needed.
Creating Subfolders #
You may want to create subfolders to categorize the data and templates in your folders. For example, you may have different collection-type reports to organize: a subfolder for weeding and another for monthly tracking. To create a subfolder, open an existing top-level folder by clicking on the name in your My Folders section.
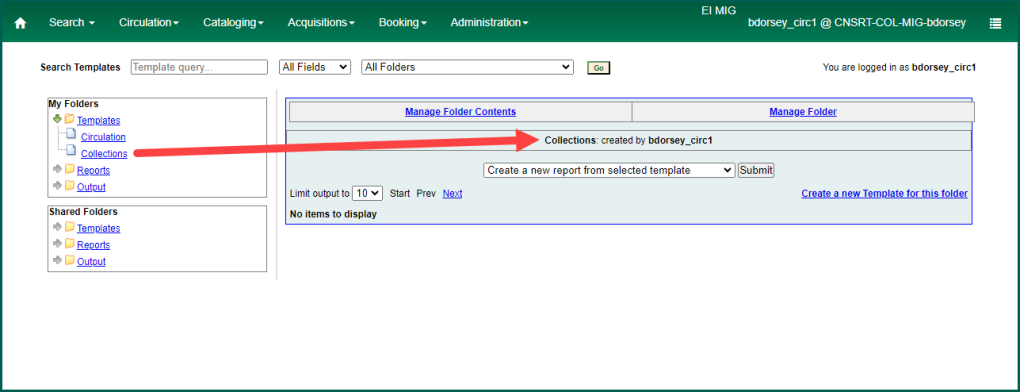
By default it will open to the Manage Folder Contents tab. Click on “Manage Folder”.
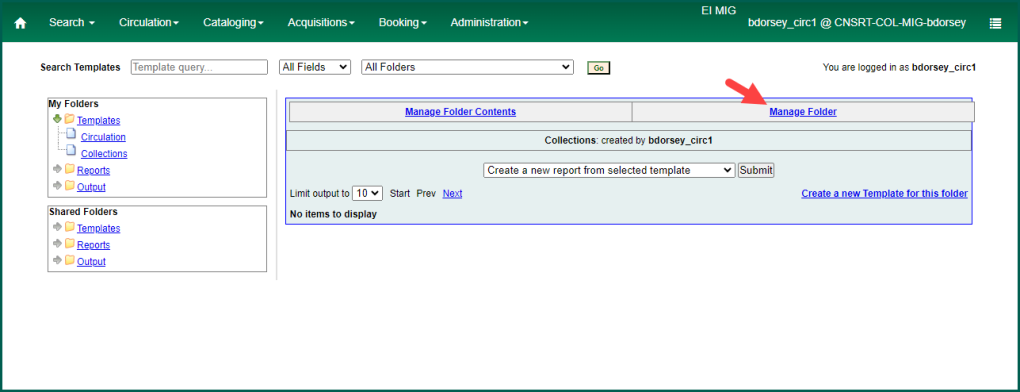
This will open the folder manager.

From the dropdown, select “Create a new sub-folder” and click on “Go”.

This will open the Folder Creation editor. Enter a name and click on “Create Sub Folder”.

The main folder will now have an arrow and a folder icon next to it, indicating that there are subfolders available in that folder.

Use the arrow next to the folder name to view the subfolders.

Repeat as needed.
Changing Folder Names #
You may wish to change the name of a folder to better reflect the contents. To do that, open an existing folder by clicking on the name in your My Folders section.

By default it will open to the Manage Folder Contents tab. Click on “Manage Folder”.

This will open the folder manager.

From the dropdown, select “Change folder name” and click on “Go”.

Enter the new name, and click on “Submit”.

Confirmation of your desire to rename the folder will be requested. You must choose “OK” in order to change the folder name.

Once updated, success will be reported.

The interface will then reload with the updated folder name.

Sharing Folders #
When creating and editing your folders, you will note the options to share folders with other staff. By default, all folders are unshared.

If you wish to share your folders with staff at your library, you may choose either your branch or system (depending on how widely you wish to share the folder). We do ask that you not share folders on a consortium level at this time.

If you have templates you wish to promote within the community, please submit them to the HelpDesk instead for inclusion in the Admin template collection.
Deleting Folders #
If you decide to consolidate templates or have extra folders, you can delete them. To do that, open an existing folder by clicking on the name in your My Folders section.

By default it will open to the Manage Folder Contents tab. Click on “Manage Folder”.

This will open the folder manager.

From the dropdown, select “Delete this folder” and click on “Go”.

If the folder contains any existing content, it will fail to delete. See later sections on how to remove the contents of a folder.

If the folder is empty, you will be asked for confirmation before it is deleted. You must click on OK to delete the folder.

A popup will confirm completion of the deletion.

The interface will reload without the deleted folder.

