Version 3.13
Permissions: Cat1
The z39.50 Record Import tool allows catalogers to search for records not found in the Evergreen Indiana catalog, and import them. It also allows catalogers to overlay simple records found in the catalog with a more robust record.
Accessing z39.50 #
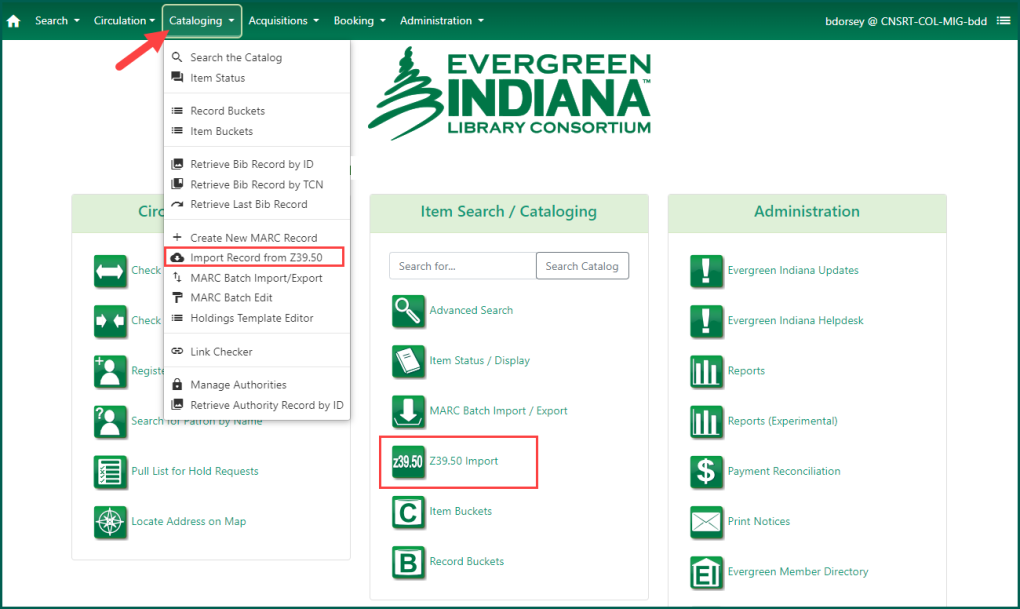
To access the Z39.50 search screen, click on the Z39.50 Import icon on the portal page, or go to the Cataloging menu and select Import Record from Z39.50.
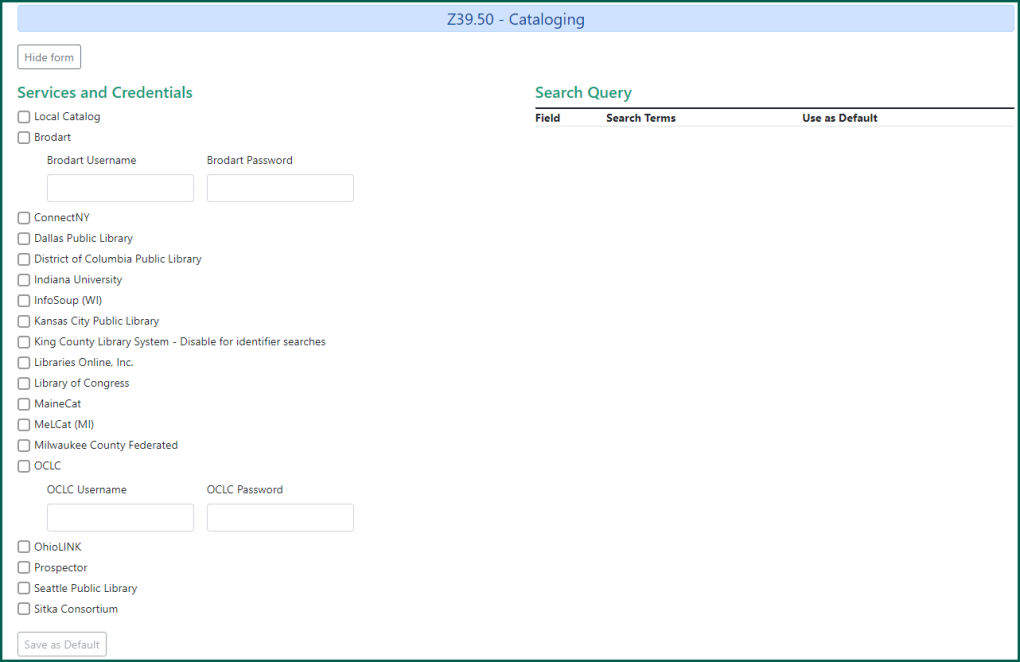
At the top of z39.50 there will be the Services & Credentials options on the left and Search Query on the right.
When you first open z39.50, the search pane will appear blank. We need to select what catalogs we want to search through before we can import anything.
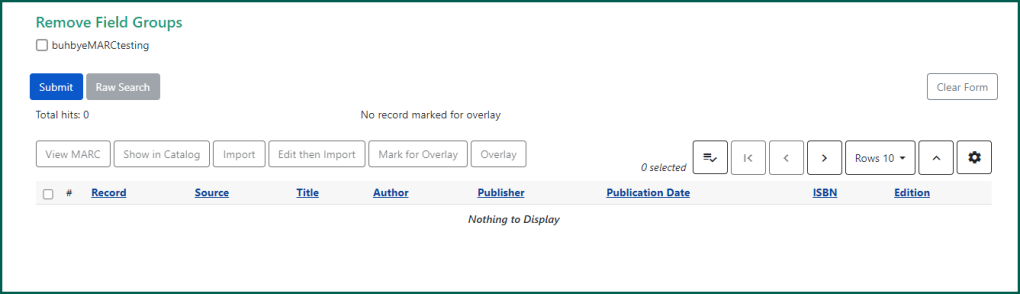
Below that is the area the search results will appear.
Setting up z39.50 Services & Credentials #
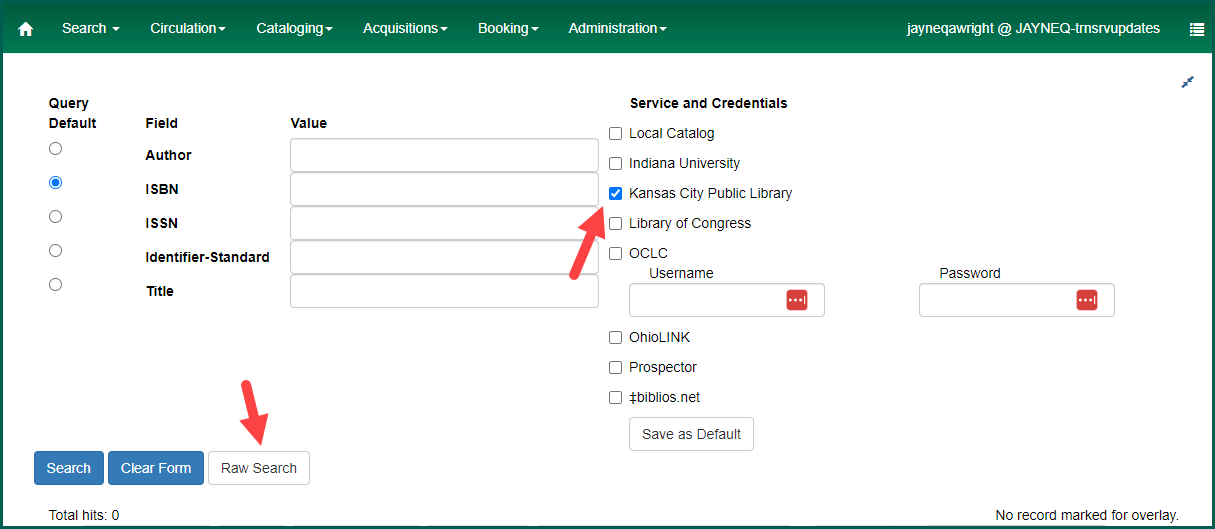
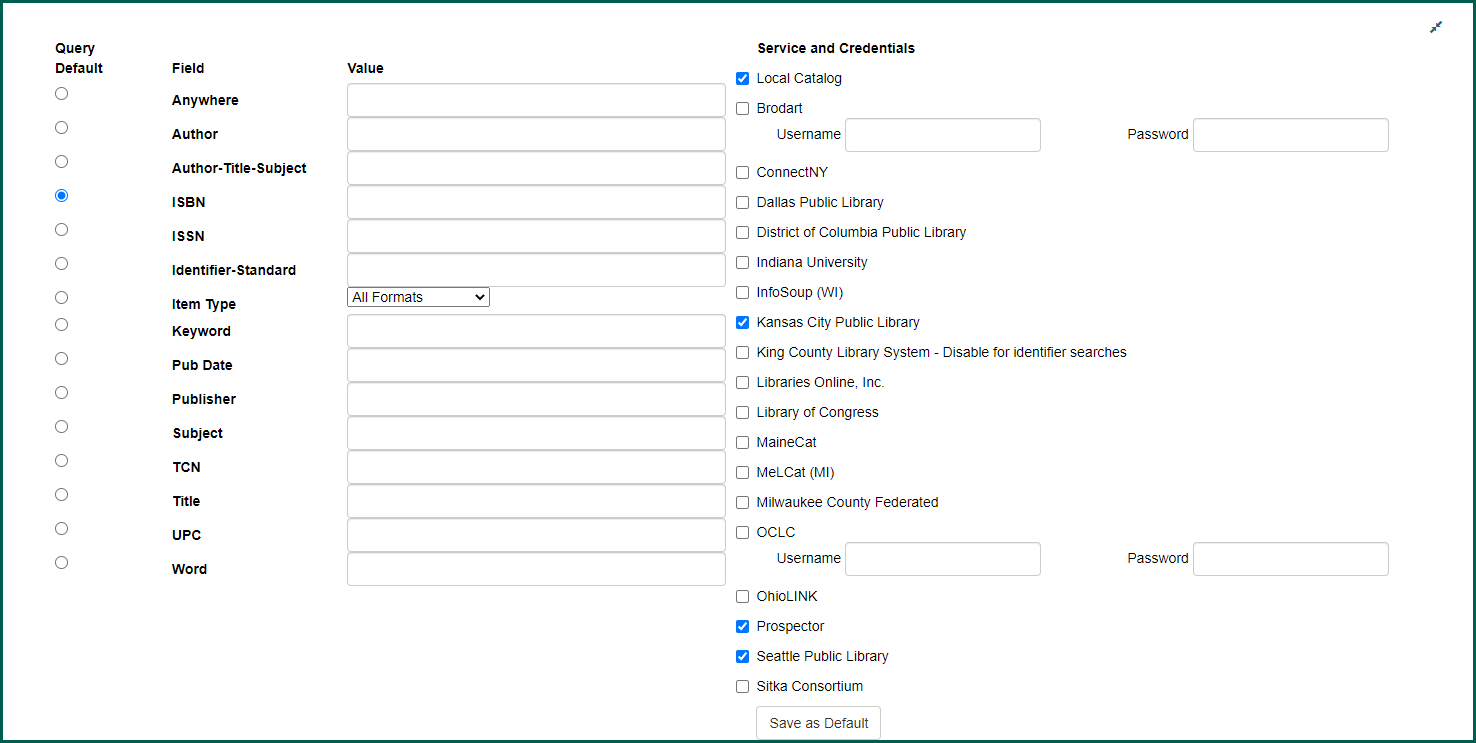
The Service and Credentials list on the top left hand side of the screen displays the various services which may be searched in order to find bibliographic records, including the local catalog. By check-marking next to a service’s name, you are searching their catalog for your request. You may choose as many or as few that best suit your needs.
As you select services, query options will appear on the right. These options will not appear until you have selected at least one service.
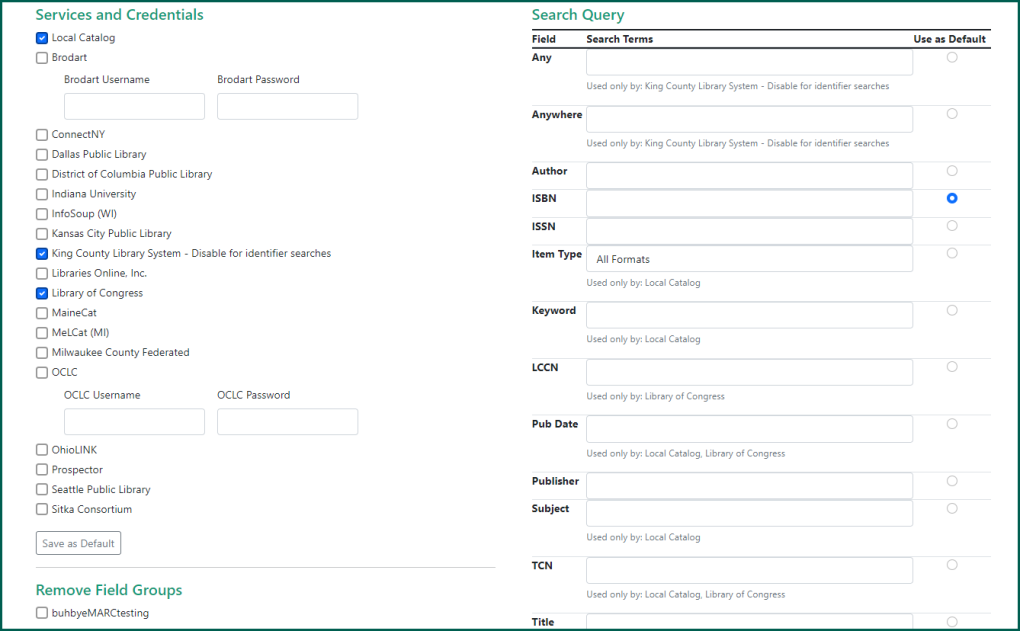
Some of the Search Query fields are only usable by certain services. You can see below the search fields if a particular one is limited to a specific service.

NOTE: Some services require a username and password, and you will have to enter these in input boxes next to the service name. If your local library does not have a subscription to these services, you will not be able to access them. If you do have a subscription, you may need to contact your vendor for your user name and password.
Once you have made your choices, clicking on the Save as Default button in the Services and Credential box allows you to save the services you usually search and any usernames and passwords you have entered. It will not confirm the save.

These choices will automatically be selected the next time you open the Z39.50 screen.
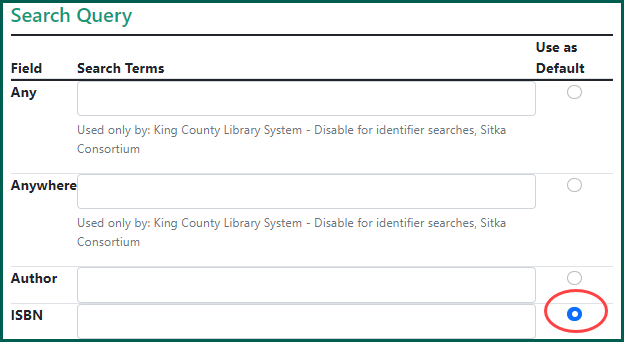
To select a Query Default search field, click on the radio button next to the desired field. That search box will be selected and active whenever you open the Z39.50 function. It will automatically save.
At the very top right hand of the page, there is the Hide Form button. Clicking this will hide the Services & Credentials/Search Query section, or show them if they are currently hidden. Hiding this section can be useful after a search to limit the amount of scrolling needed to see the results.
Searching in z39.50 #
After selecting your preferred services, you can now being to search using z39.50. Use one of the search fields to find a MARC record that matches your item. In this example, we are using the ISBN field.
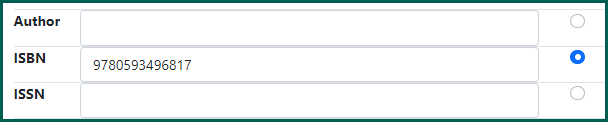
Press Enter or click Submit to search the selected services.

A status bar will appear as z39 searches for a matching record.

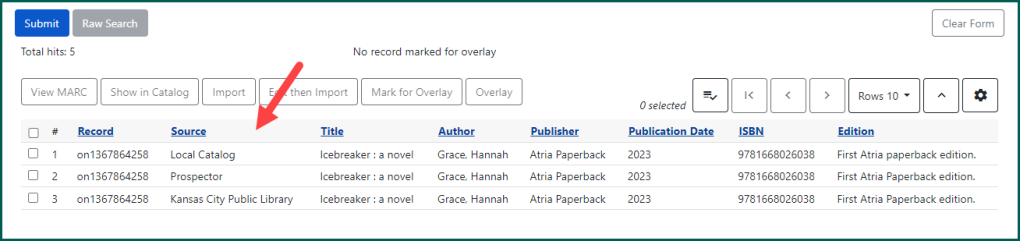
Your search results will appear in the grid configuration. A total number of “hits” will appear below the Search button. If you cannot see all of the results, check how many rows are visible.
Note: As of 11/22/24, it seems that the number appearing next to “Total Hits” does not match the actual number of results.

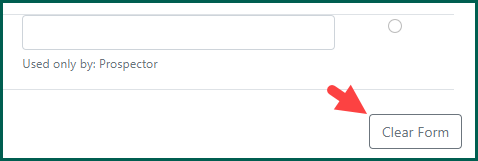
To perform a new search, you may delete any input directly within the query field, or use the Clear Form button.
Reading the Results #
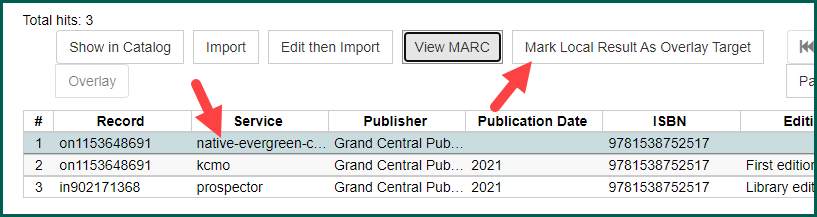
Information about each record retrieved appears in a separate row, with various columns of information. The Service column indicates where the record was found.
NOTE: If “Local Catalog” is listed in the Source column, that record is in the Evergreen Indiana catalog.
NOTE: Records in the local catalog which have no holdings will not be displayed in your search results, but will cause a Record Collision if the TCN is the same as the record you are trying to import.
To modify the column size or location, you can use the grid configuration menu to make these changes. For more information, see Column Pickers.
Importing a Record via z39.50 #
Once a search has been completed and you have results listed, you have the option of importing a record into the catalog.
If one of your results is from the local catalog, click Show in Catalog to see if that matches your item in hand. It will open the record in a new tab.

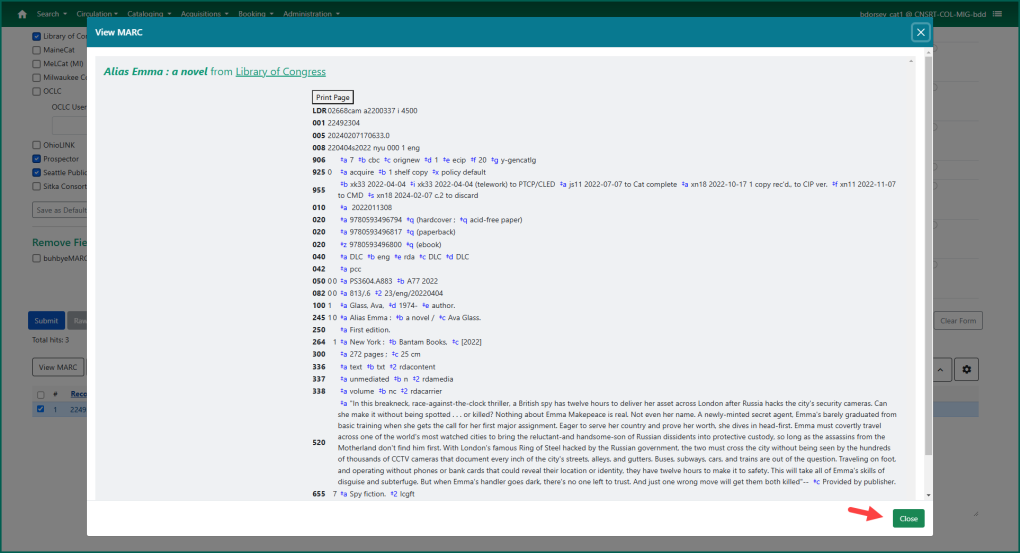
View MARC is useful when importing records to review the results and find the best record that matches the item in hand.

Clicking it will open MARC View in a new window. Click Close to close the window and return to the search results.
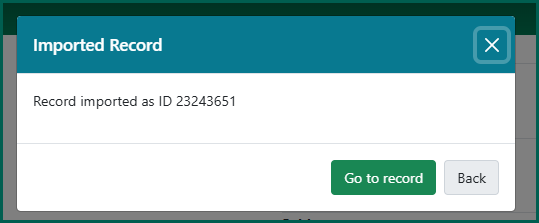
Once you have determined that a record is a match for your item and the record is not already available in the catalog, make sure it is selected and click Import or Edit then Import. Import will automatically import the record. A window will confirm the import was successful and ask if you want to Go to the record (open it in a new tab) or Go back (close the window).
NOTE: If you do not have “Local Catalog” selected as a service, and there is a record in the catalog that already matches, the import will create a duplicate record that will need to be merged. There will be no alert that the import is a duplicate.
Clicking Edit then Import will open the MARC Editor in a new window. Here you can make changes to the record prior to importing. Click Save Changes and then Import Record to import the edited record. To save your changes and import the record, click Import. At the bottom of the window, you can select Go to imported record or Cancel to close the window.
The same window appears to confirm the import and asks if you would like to the record or return to Z39.50.

NOTE: It is recommended to make any changes to a record after it has been imported. Editing then importing the record may bypass any automatic tag/field deletions within Evergreen. However, if this option is chosen, just make sure any obsolete tag is removed.
Record Collisions #
If a record already exists in the system with the same TCN, instead of the dialog box telling you that the record has been imported, you will get an Alert:

NOTE: A record collision will occur if a record in the system has the same TCN. If there is a duplicate record in the system with a different TCN, your record will still import successfully and will need to be merged with the existing record. See the merging records section of Record Buckets, if needed.
Raw Searches #
In addition to using the search fields, you can do a Raw Search by clicking on the Raw Search button. This allows you to do searches for which there are no search fields, if you are familiar with PQN searching. It only becomes clickable when a single service, one that isn’t the local catalog, is selected from the list.
Clicking on Raw Search will open a new pop-up window.

NOTE: Raw searches are not affected or limited by anything you have input into the other search query boxes.
To do a UPC search, enter @attr 1=1007 @attr 4=6 “UPC” inserting the actual UPC you wish to search in place of the letters UPC, as shown above. Then click Search or press enter.
Overlaying Records #
Overlaying a record is the process of importing a new MARC record to replace a record currently in the system. This would be done if the existing record is insufficient in some way, needs updated, or to replace temporary or on-order records.
When a record is overlaid, any holdings that were attached to the original record will be attached to the replacement.
There are two ways to mark a local record for overlay.
From the Catalog #
While on a Bibliographic record
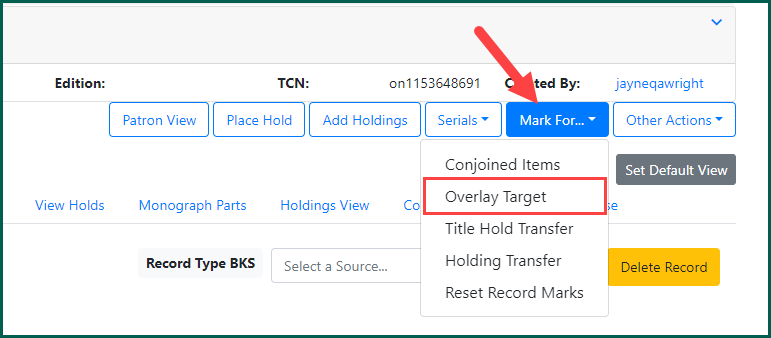
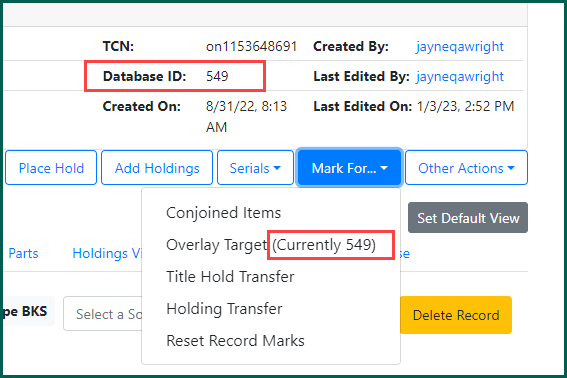
The first step is to mark the record you wish to replace. Open the current record in the catalog.
Then, under Mark for, select Overlay Target. This can be done from any tab within the summary page.
A confirmation window will momentarily appear at the bottom right of the screen.
NOTE: You can confirm the record has been marked by re-clicking on the Mark For menu and comparing the Database ID matches the ID listed next to the menu option.
From z39.50 #
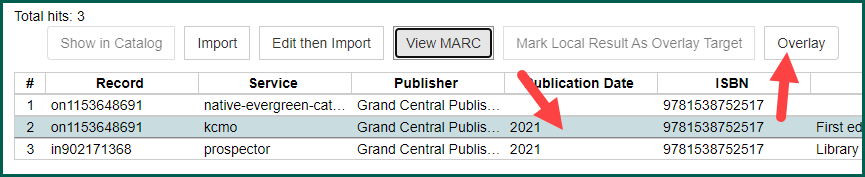
After you’ve received your search results, and the record you wish to overlay is listed, you can select it and then click Mark Local Result as Overlay Target.
You’ll be able to see to the right that the record was marked for overlay.
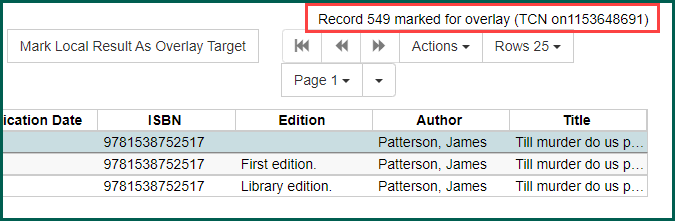
Once you have found the record you wish to overlay with, select it and then click Overlay.
Both records will appear in a MARC view format in a separate window. To edit the incoming record, you may click the Edit Z39.50 Record button. Make any edits to the record and click Save.
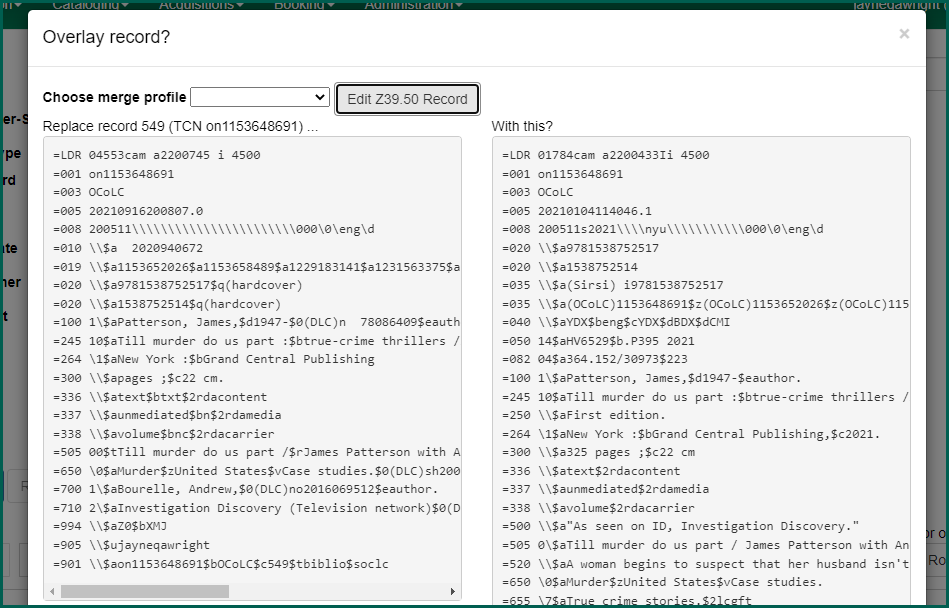
Click Overlay.
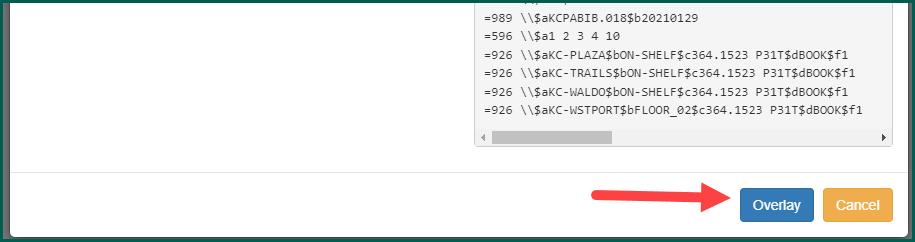
The window will close and the record will be overlaid. A new tab will open with the newly overlaid record.
The overlaid record will retain its original TCN but its contents will have changed to reflect the selected Z39 record.
Make sure when overlaying records, the record to be replaced must always be marked before the new record can be imported for overlay.