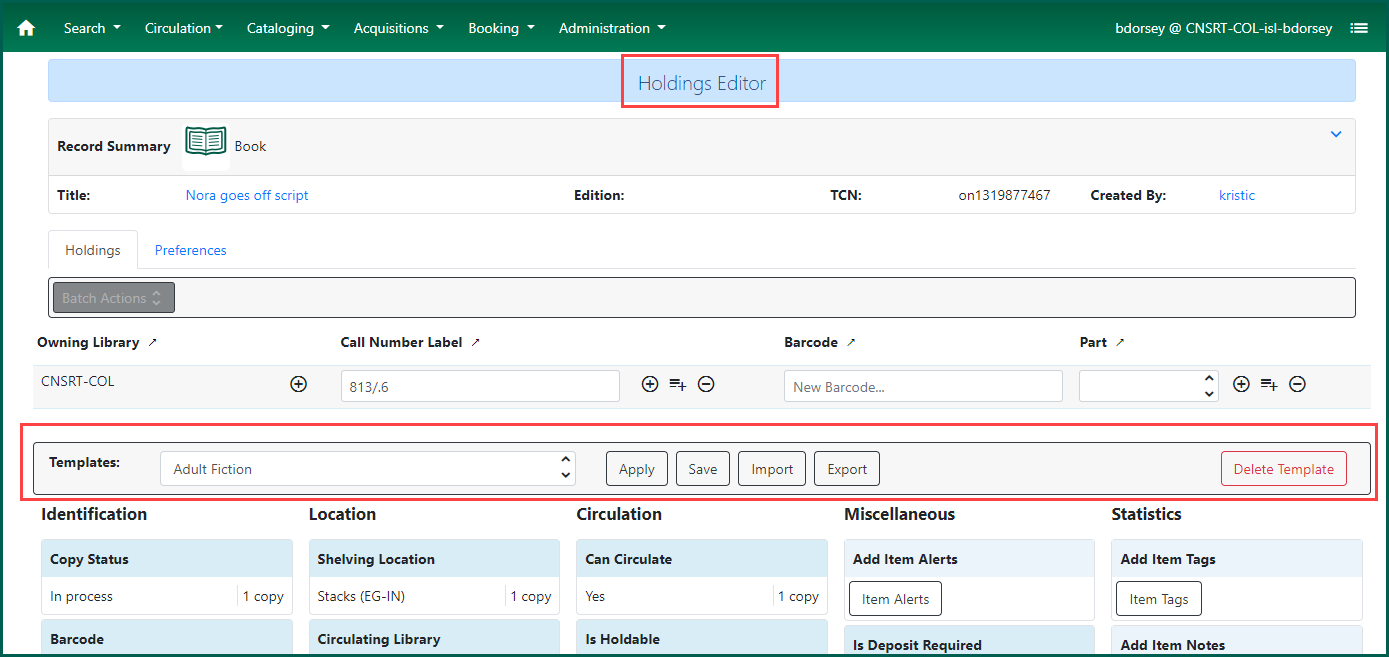
Holdings templates are used to apply information to your holdings. Since you will generally apply the same information over and over to items in the same collections, you can make a template to apply the information to an item or items all at once, instead of applying this information into each field individually every time.
Holdings templates may be created in the Holdings Template Editor, or directly in the Holdings Editor. Since these are login ID specific, users with other log-in IDs will not see your created templates. However, these are shareable by using the export tool. See the Exporting Item Templates for more details.
To learn more about the different attributes available while using the editor to make individual changes to an item, read Modifying Item Attributes before creating your templates.
Accessing the Holdings Template Editor #
The Holdings Template Editor is accessible via the Holdings Editor as part of the item attributes, or as a standalone function within the Cataloging or Local Administration menus.
NOTE: The format of creating templates is visually different between the Holdings Template Editor and the standalone Holdings Editor, and it is recommended to use the template creator in the Holdings Editor. The standalone editor will update to match the Holdings Editor template editor in future versions of Evergreen. Also, there are known bugs between a created template in the standalone and attempting to use it in the updated Holdings Editor.
Creating a Template #
To create a template, you will apply each desired item attribute individually for your item (see Item Attributes & Field Descriptions for more information), and then save those selected as a template. Fields that have been edited will be highlighted in a light green color. Enter the title of the new template in the input box and click Save.
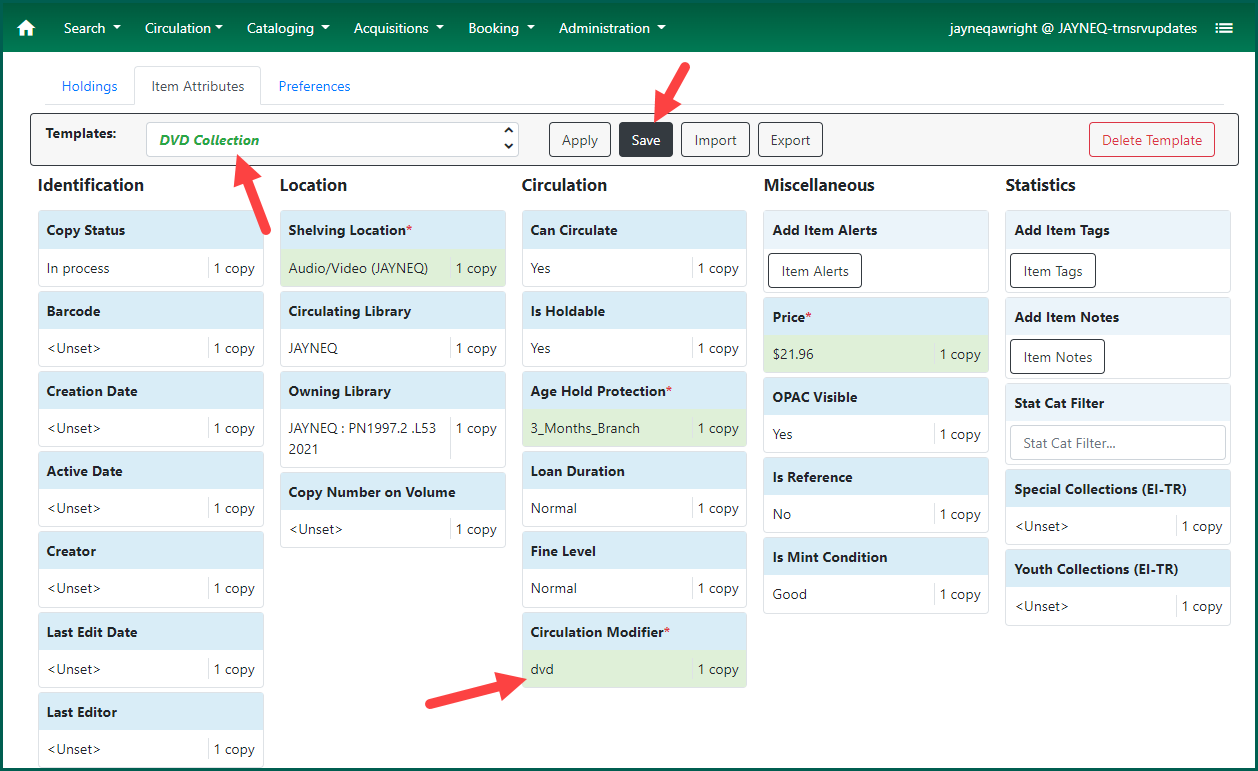
TIP: Fields may be deactivated if you do not use them at your library. Deactivated fields will not appear in the template. Fields are deactivated using the Preferences tab in the Holdings Editor.
The new template will appear in the template drop down along with any other created or imported template. Selecting a template from the list and clicking Apply will display the selected template and allow you to see its chosen attributes. Save and Delete will allow you to save or remove created templates. You can use the Import button to bring in already-created templates. Export will allow you to save created templates as a file to be shared. Clear empties any fields that have been edited and removes the green outline).
Template Tips #
- If you are creating multiple similar templates, you can apply a template you have made, make changes, then save a new template with the desired name.
- When creating templates only enter field information that you will need every time for that type of item. Otherwise, you will have to change that field whenever the information is not applicable.
- It is important to assign a shelving location to your items, and not leave them empty, as this will affect search filters and statistics for your materials.
- If your library has multiple branches, and the shelving locations are owned by the branches and not the system, you will need to create separate templates for each branch. Including the branch name as part of the template will help prevent you from applying the templates to the wrong branch.
- To make changes to an attribute, click on it to activate. Enter information or select an option from the drop-down menu. Fields like Creation Date and Active dateWhen the item is checked in after being cataloged. This is different from Create date.are not available when creating a new item. They will be populated if modifying an already-created item.
NOTE #
At the time of this update, the Clear button is missing from the angular Holdings Template Editor. See the Launchpad ticket for more information and view its progress.
Applying Templates #
Holdings templates are applied to items using the Holdings Editor, either when adding or editing holdings. See Adding Holdings or Modifying Item Attributes, if needed.
To apply a template in the Holdings Editor, select it from the drop down list of templates and click Apply:
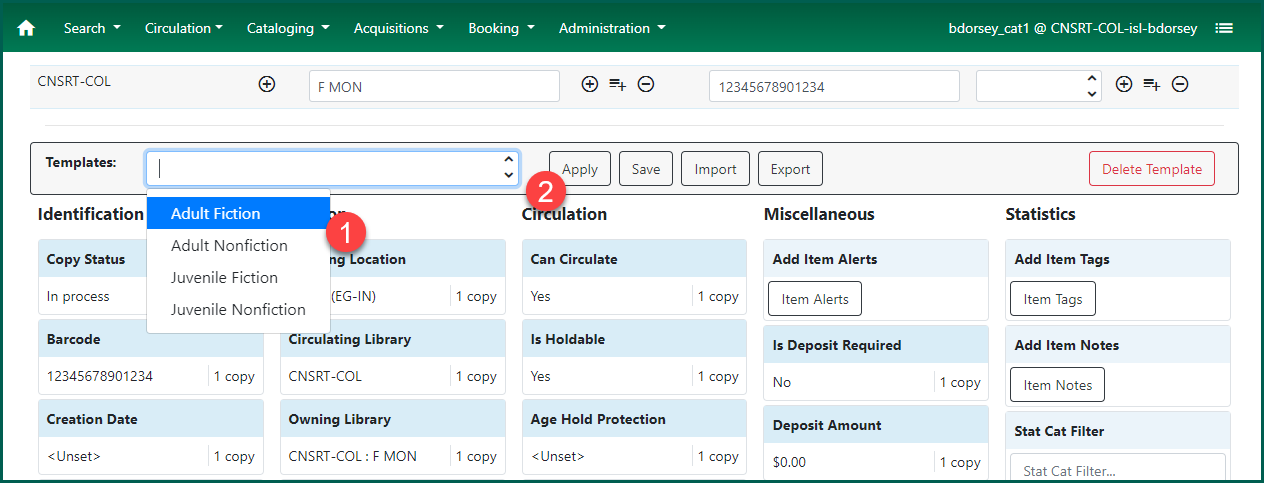
TIP: The last template you applied will automatically appear in the template selection field when you open the Holdings Editor.
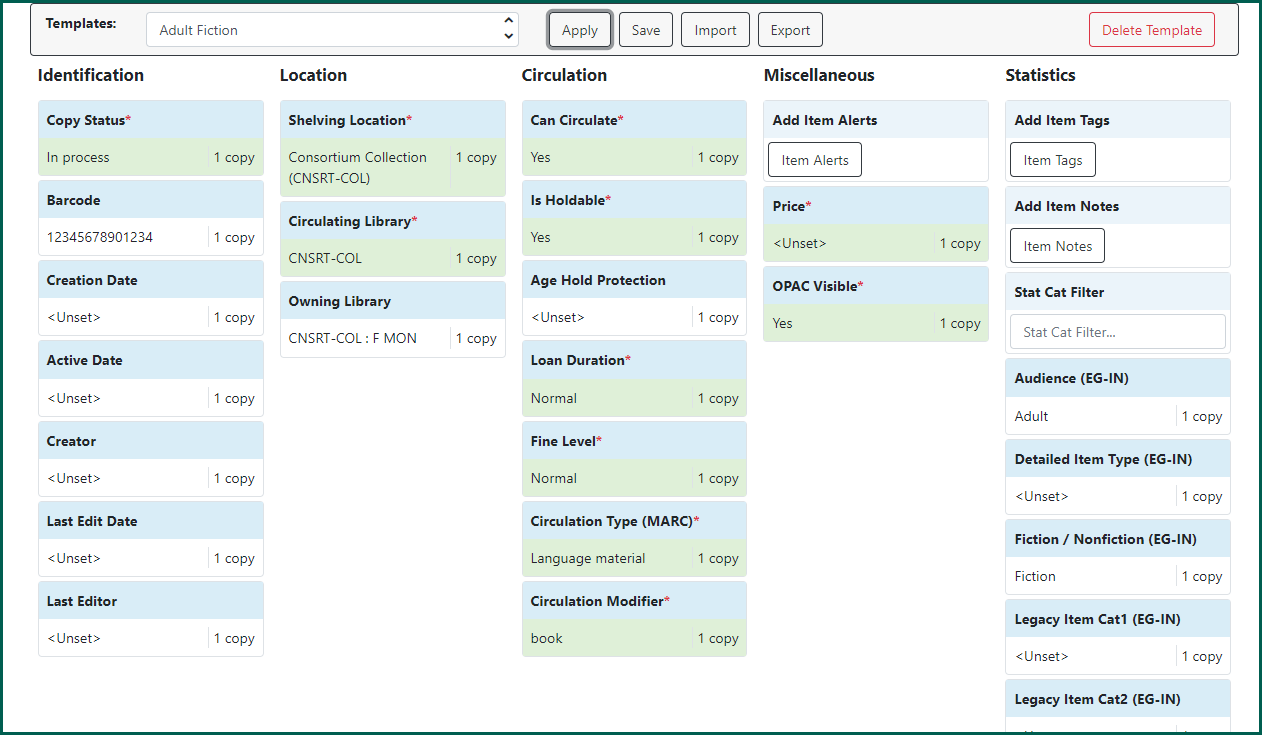
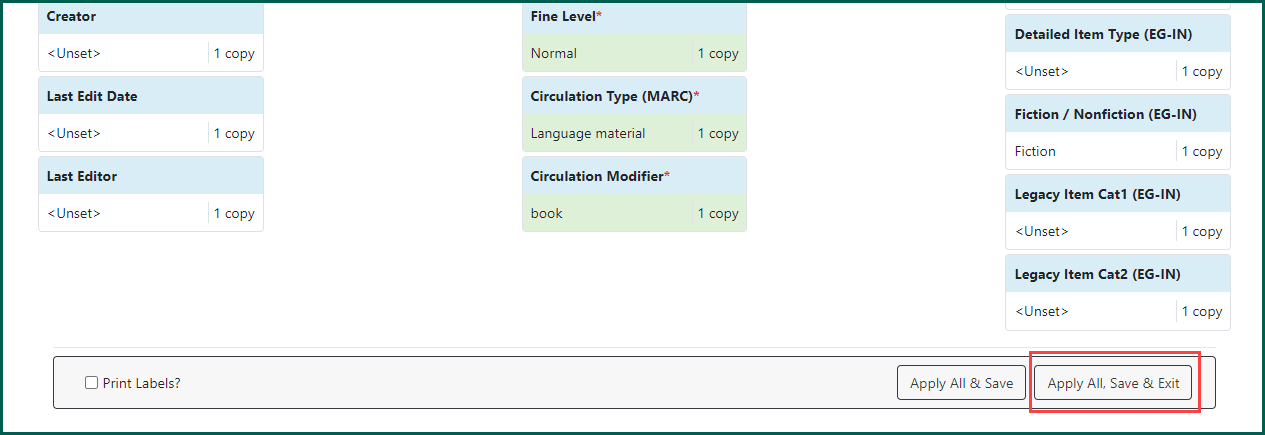
When the template is applied, the fields in that template will display the green outline and show the applied information:
NOTE: At this time, trying to apply a different template after already applying one will NOT completely overlay a previous template if that template had attributes that are not associated with the new template.
Do any other editing necessary, for instance adding the price or an item alert or note, click Apply All, Save & Exit at the bottom of the screen.
NOTE: Apply All & Save will save your work, but will not close the Holdings Editor. Also, you cannot save, or save and close the Editor unless you have at least a call number, item barcode, and Audience stat cat filled in. They will be grayed out otherwise.
The tab will close and your changes will be saved.
Deleting Templates #
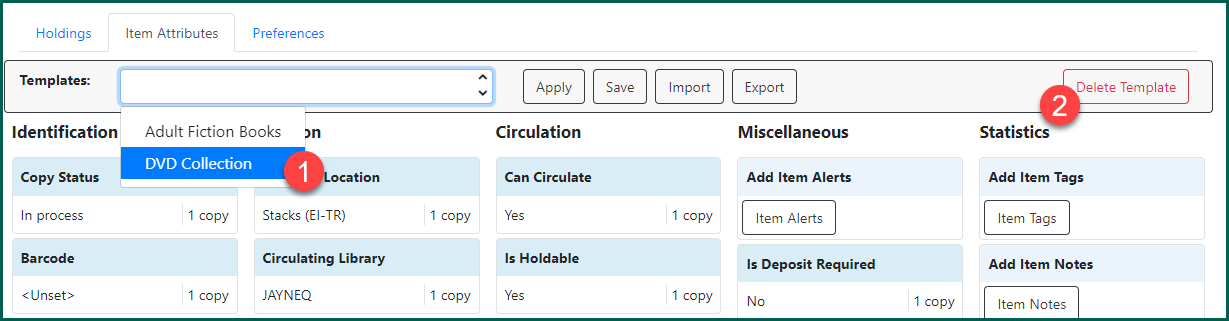
You can delete unwanted templates by going to the Holdings Template Editor (Administration → Local Administration) or by accessing the Item Attributes when editing an item.
Select the template you wish to delete from the drop-down menu. When the name is displayed in the box, click the Delete button on the Template bar.
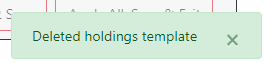
A notification in the bottom right-hand corner of the screen will confirm the deletion of the template.
Changing Existing Templates #
To make changes to an existing template, apply the template in the Holdings Template Editor and set the fields as desired.
NOTE: When you are updating a template because the current template does not work, you should start from scratch, and give the template a new name to ensure you are not retaining problems from the previous template.
Once the settings have been altered, click the Save button. Any changes will overwrite the existing selected template. If the name is changed in any way, clicking Save will create a new template.
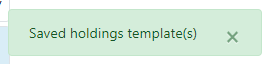
A notification in the bottom right-hand corner of the screen will confirm the new template save.
Exporting Item Templates #
It is possible to save your templates to an export file and then import them to a different user. This is useful if you have several catalogers on your staff. One of the catalogers can create the templates and then copies of the templates can be exported and imported to other users’ accounts. This will ensure you are all using the same templates. All templates are exported as a batch. You cannot export and import selected templates. If you only wish to share one or two templates, it may be easier to simply recreate them with the other user name.
Open the Holdings Template Editor. Then click the Export button.
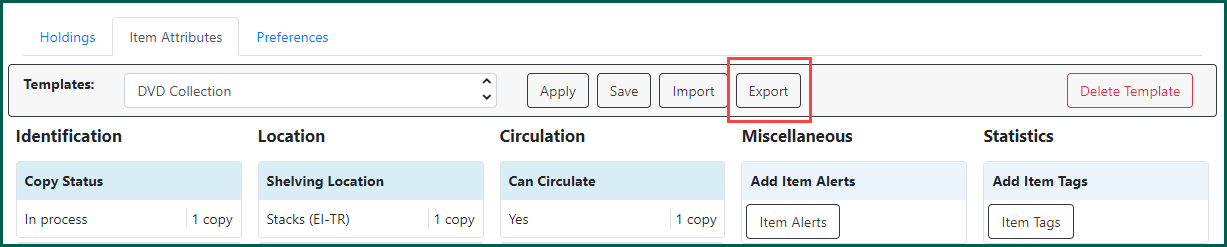
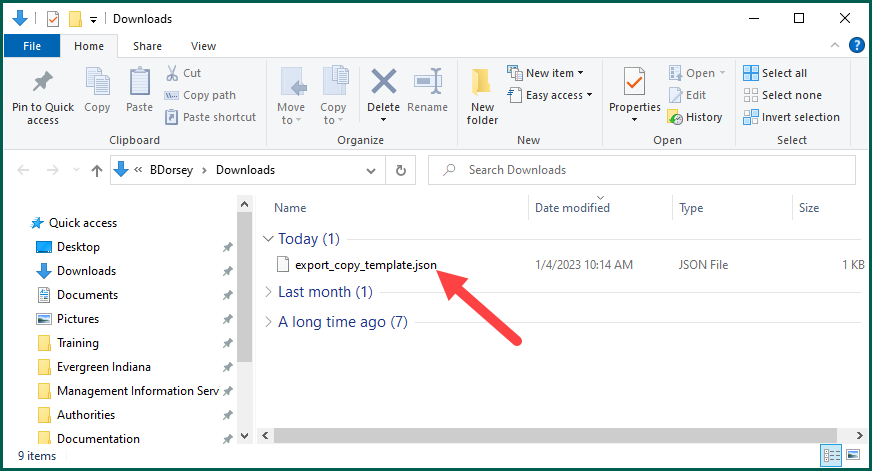
Depending on the browser settings, the file may automatically download or it may ask if you would like to save the file. It will be downloaded to your default download location. This can be changed in your browser settings. The file will have a .json extension.
NOTE: This may look somewhat different depending on your operating system and browser.
Your templates should be saved in the location you indicated. In this case, the templates were saved to the downloads folder. If you wish, rename the file something that is more user-friendly and/or move it to a different location for easy access (a network location, for example).
Importing Item Templates #
To import templates, you need to log in with the account to which you wish to import the templates.
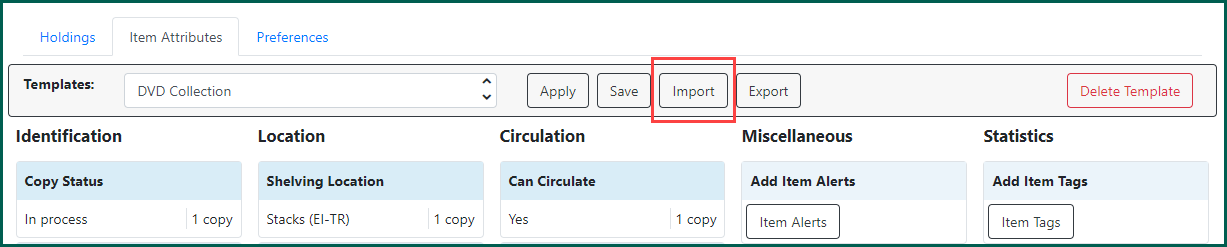
Open the Holdings Editor and access the Item Attributes. Click the Import button:
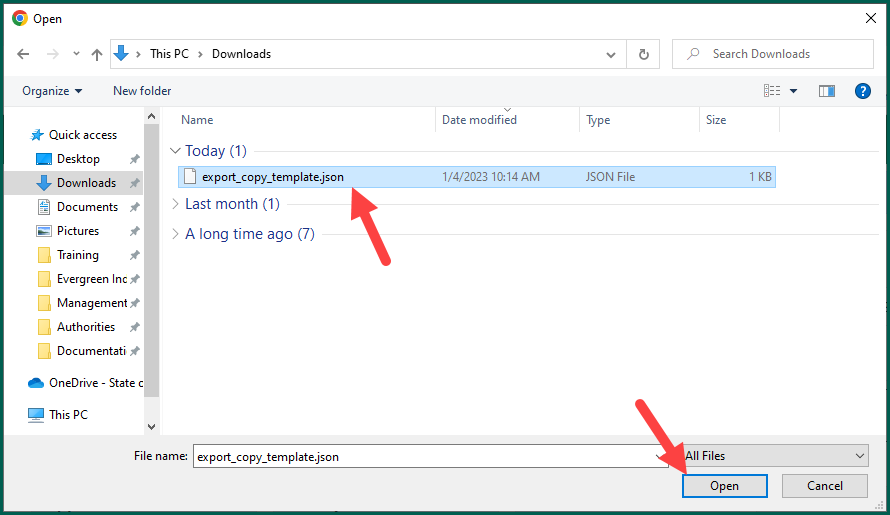
The file explorer will open. Select your templates file and click the Open button.
Your templates will be added to this account. There is no confirmation of the imported templates. Clicking the down arrow will reveal the newly added templates. Templates can be shared with as many users as needed.