Permissions: All staff
The Item Status
- Click Item StatusItem Status allow syou to see the status of an item without having to go to the actual bibliographic record./ Display from the portal page/splash screen
- Select the Search menu and choose Search for Items by Barcode
- Select Item StatusItem Status allow syou to see the status of an item without having to go to the actual bibliographic record.from the Circulation or Cataloging menus
- On the item’s Bibliographic recordThe record that contains data about a work, such as title, author and copyright date. A bibliographic record may have zero or more item attached, which are the things that (may) circulate.page, click View next to the item’s barcode, then click List View.
Using Item StatusItem Status allow syou to see the status of an item without having to go to the actual bibliographic record.
#
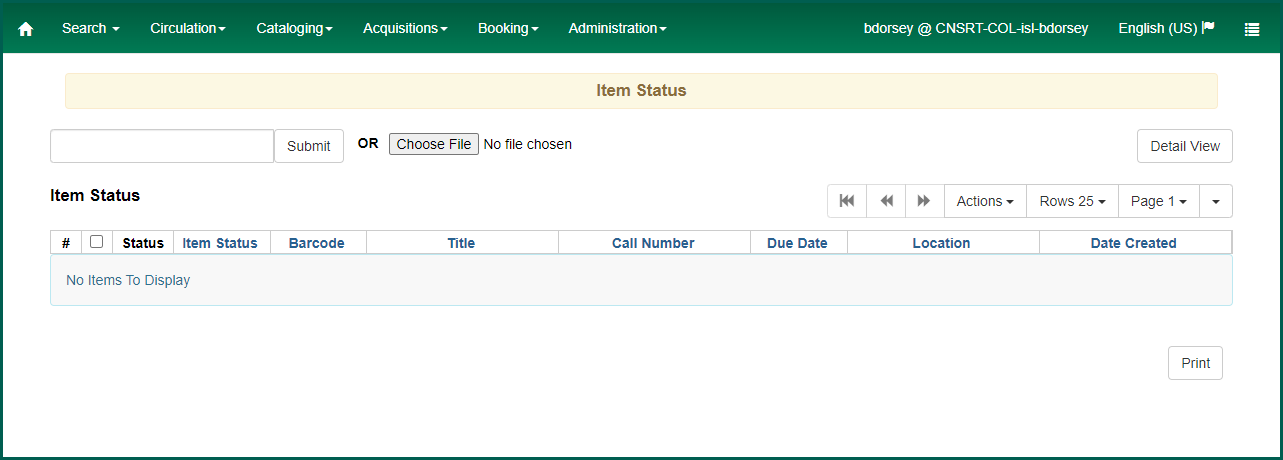
To check an item, simply scan, enter, upload, or paste the barcodes of the items you wish to check into the barcode field. If you paste or enter the barcodes manually, you will need to hit Enter or click Submit after each barcode. Information will display based on the columns visible. This includes price, item location, circulation modifier, circulation, loan duration, parts, etc.
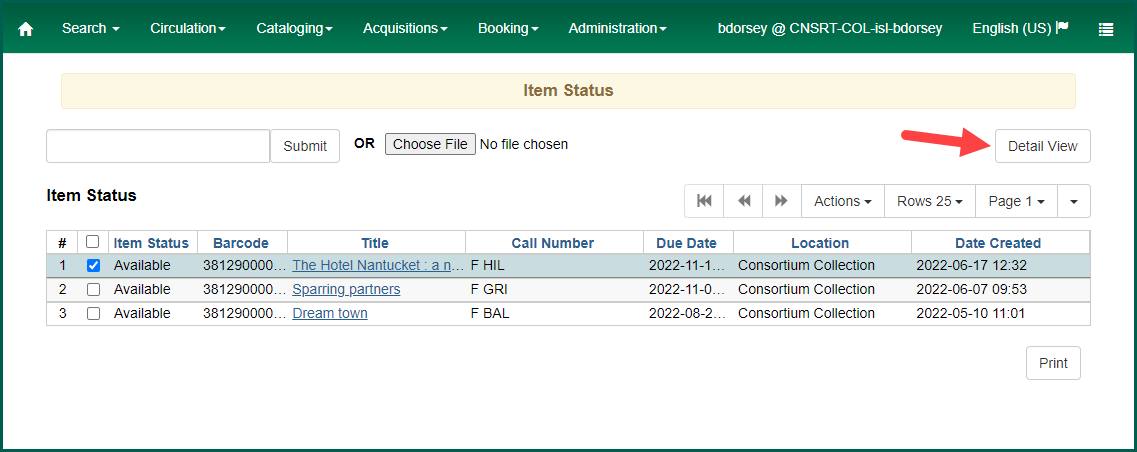
Detail View #
The Detail View function provides detailed information about a highlighted item on the Item Status
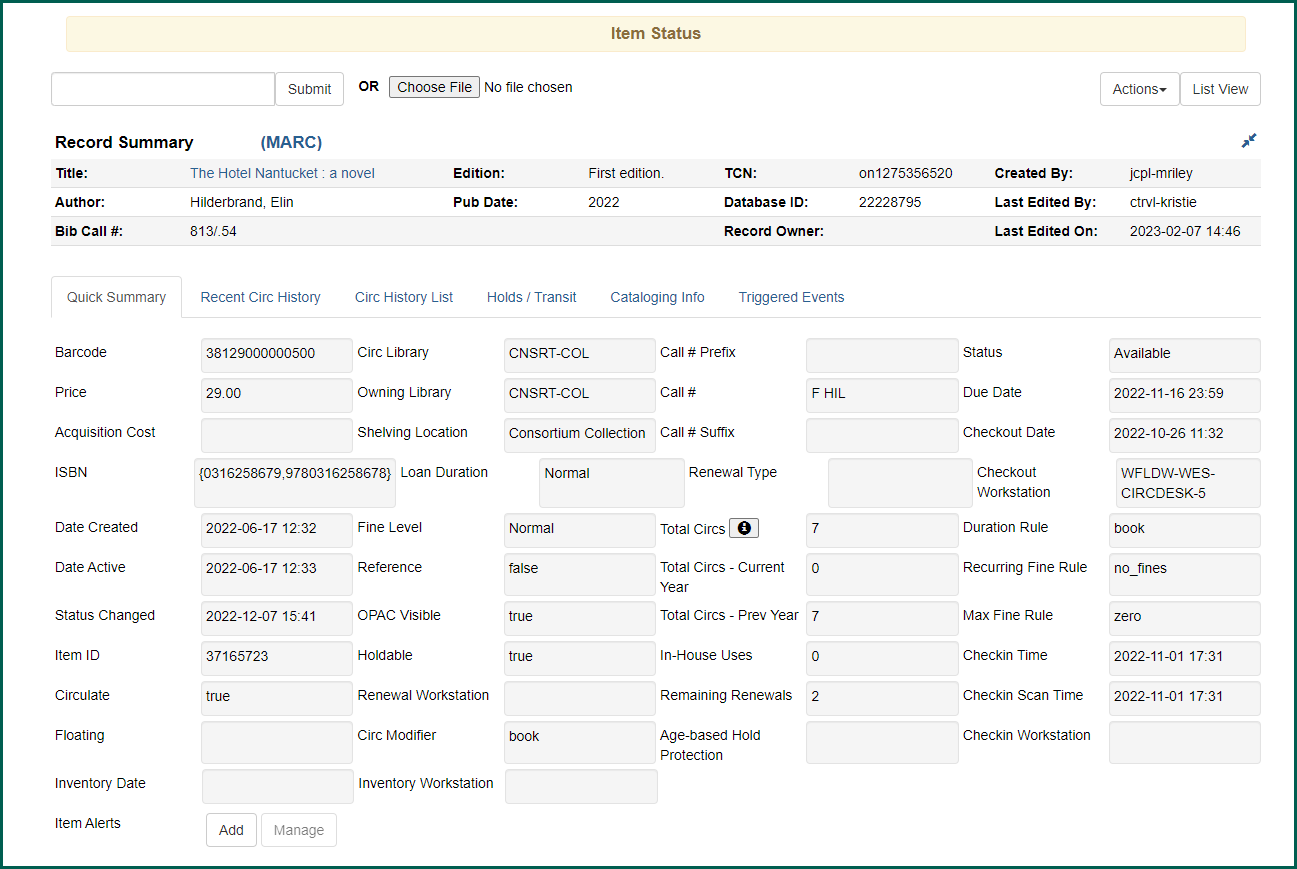
This will change your current tab view to display more item information. The default tab is Quick Summary. This shows a visual breakdown of the item’s settings (attributes). Recent Circ History shows the current and previous circulation; Circ History List provides the last five (5) circulations; Holds/Transit Material shipped between Evergreen Indiana libraries.
A request placed by staff or patrons for materials to be picked up at a selected location (see Pickup Library).
Material shipped between Evergreen Indiana libraries.
Notice that List View has replaced Detail View in the top right corner of the screen. This will change based on the screen you are viewing.
Actions Menu #
The Actions menu allows you to access any option you may need to edit the items listed on the screen. Marking an item as damaged or missing, transferring items to a different call number or record, and adding items to the selected record are all options you can use. Below are just a few more of the available actions in Item Status
Add to Item Bucket
Add to Record Bucket
Show in Catalog: Another useful feature for checking your work in the Item Status

The record will open up in a new tab in your default view. If you select multiple items, a new tab will open for each record.

Note #
“Bookable” and “Reservation” themed actions in Item Status
Create Carousel from Selected Items: Creates a carousel for the library’s classic catalog page without using Record Buckets.
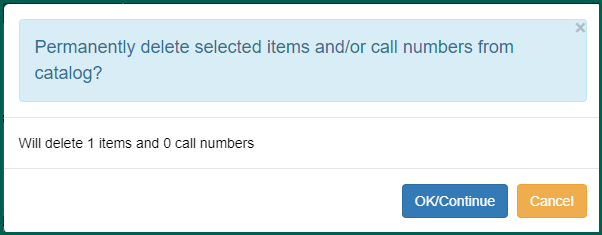
Delete Items: If you are weeding material from your collection, you can use Item Status
Editing Call Numbers #
Permissions: UPDATE_VOLUME
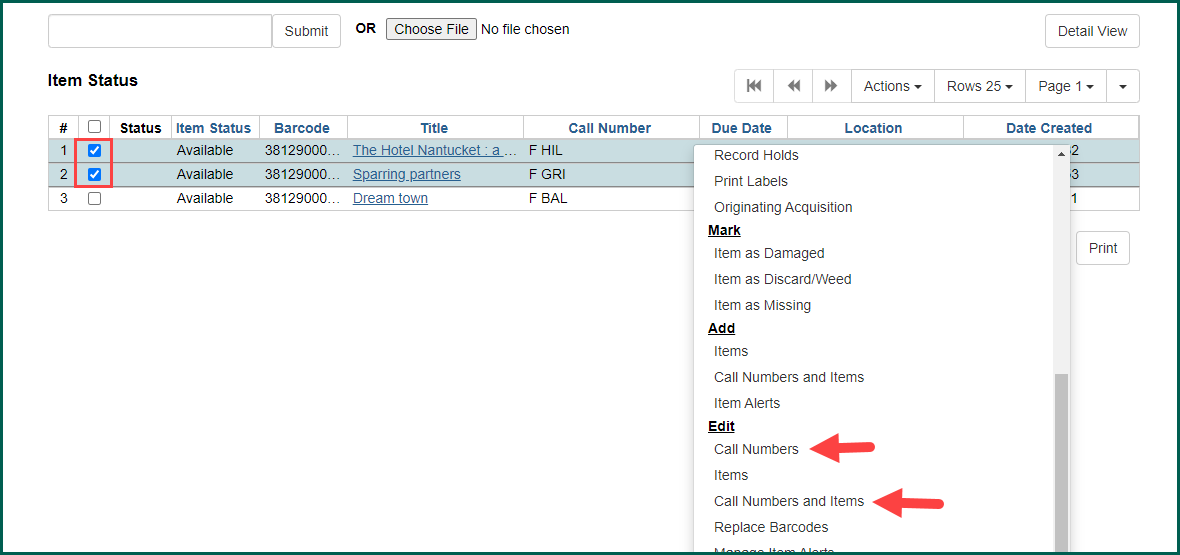
To edit call numbers from the Item Status
Right-click or select Actions → Edit : Call Numbers or Edit : Call Numbers and Items.
The Holdings Editor will open in a new tab. See Changing Call Numbers if further information on changing call numbers is needed.
NOTE: When changing multiple call numbers, the Holdings Editor will open one screen for all selected items. If your call numbers are too similar, you may wish to select Edit : Call Numbers and Items to distinguish between each item.
Make your edits to the call numbers, then scroll down and click Apply All, Save & Exit.. The tab should close automatically.
Your changes will automatically update on the Item Status
To clear the items displayed in the Item Status
Making Batch Edits #
Item Status
Scan, enter, or paste your barcodes in the barcode box. When your items are displayed on the screen, check mark each item you wish to edit. To select all visible items, click the top check box in the row of column names.

Right-click or select Actions and choose the modification you wish to make: mark an item as damaged or missing, add new holdings, edit these holdings, etc. Selecting Add Item or Add Call Numbers and Items will open the holdings editor for each item in separate tabs. Edit Items or Edit Call Numbers and Items will open the holdings editor in a single tab.
Changes made in the Holdings Editor will automatically appear in the Item Status
Importing Data to the Item StatusItem Status allow syou to see the status of an item without having to go to the actual bibliographic record.
Screen from a File #
If you have a list of barcodes in a file that you wish to work on, you can upload it to Item Status
Using Excel to Save Report Data #
If your report contains only barcodes, and you have your results output as an Excel file, you can simply save the file as a text file (.txt) or a CSV file (.csv). If your report contains more than 200 barcodes, you may wish to use Notepad instead of Excel (see below).
Note: It is necessary to format the barcodes so that the entire barcode displays before copying from a spreadsheet. Be sure that your list only includes barcodes and not column headings.
From the File menu in your spreadsheet program, select Save As and navigate to the folder you wish to save the file in. In the Save as Type box, select Text (Tab delimited) or CSV (Comma delimited).
Make sure you remember where you save the file, for instance, your desktop, or a particular folder. Give the file a name you’ll recognize, such as ‘barcodes’. Then click the Save button.
Using Microsoft Excel, you will get the following alert after clicking the Save button:

Click the Yes button.
Using Notepad to Save Report Data as a Text File #
If your report has more than 200 barcodes, or has other fields in addition to barcodes which you do not wish to delete, you can copy the barcodes to Notepad to save the file.
Highlight the barcodes you’d like to import, then type Ctrl + C or right click and select Copy to copy the barcode fields. The more barcodes you import at a time the longer they will take to import and to edit. 100 or fewer is fairly manageable. If you want to select all the barcodes, click on the head of the column.
Note: It is necessary to format the barcodes so that the entire barcode displays before copying from a spreadsheet. Be sure that your list only includes barcodes and not column headings.

Next, open Notepad. When the Notepad window opens, type Ctrl + V or right click and select Paste to paste your barcodes into the Notepad:
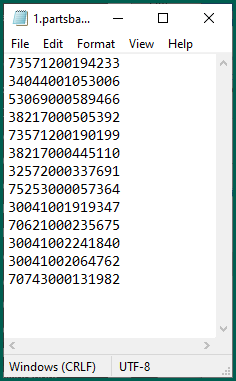
Save the document as a text file. Give it a name you will remember, such as barcodes, and remember where you save it—whether to your desktop, a particular drive or folder. It needs to have a file extension of .txt
Uploading .txt and .csv Files for Batch Edits #
Navigate to the Item Status
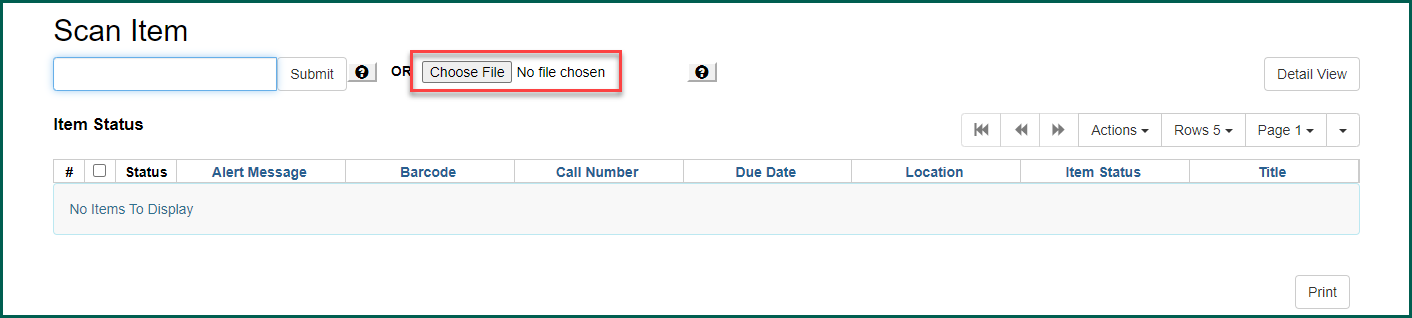
The Import Barcode File window will open up. Locate and click on your file name. When it appears in the File Name box, click the Open button. Your barcodes will be imported. The more barcodes you have to upload, the longer it will take to complete.
NOTE: The number of visible barcodes will depend on how many rows you have visible. See page 2 for more information.
Once your barcodes are imported, you can make any desired edits.