Buckets are virtual “containers” to use in batch processing items or bibliographic records. They can be used to perform various cataloging/holdings maintenance tasks in batch.
Item Buckets are used to manage item information. For instance, they may be used to change item location, circulation modifier, or status for multiple items. You can use Item Buckets to make batch changes in the Item Editor in much the same way that batch changes can be done from the Item Status
Item Buckets are very useful for groups of items which you will be dealing with over a period of time. If you are making temporary changes to a group of items, item buckets allow you to make group changes, and store the items in the Bucket
Some examples of ways you might use an item Bucket
- To temporarily change the status or shelving location of a group of items for a period of time. For instance, if you are placing items in storage, temporarily transferring them to another branch, or using them in a special display. You can add the items to a BucketThis is a virtual container of items. See also Record Buckets, Item Buckets, and User Buckets., and change the location. By keeping items in the BucketThis is a virtual container of items. See also Record Buckets, Item Buckets, and User Buckets., you can transfer them to a different location when the allotted time is up without handling the actual items.
- To track leased items. If your library leases bestsellers or audiobooks for a certain period of time, you can add these items to a BucketThis is a virtual container of items. See also Record Buckets, Item Buckets, and User Buckets.when you add them to the catalog. Then when you are sending the group of leased items back, you can delete all the items in that BucketThis is a virtual container of items. See also Record Buckets, Item Buckets, and User Buckets.at once.
- To collect items for a particular project over a period of time. You can create a BucketThis is a virtual container of items. See also Record Buckets, Item Buckets, and User Buckets.and add items for a future project over days, weeks or months before making changes, or sharing them with another user.
Opening the Item BucketThis is a virtual container of items. See also Record Buckets, Item Buckets, and User Buckets.
function #
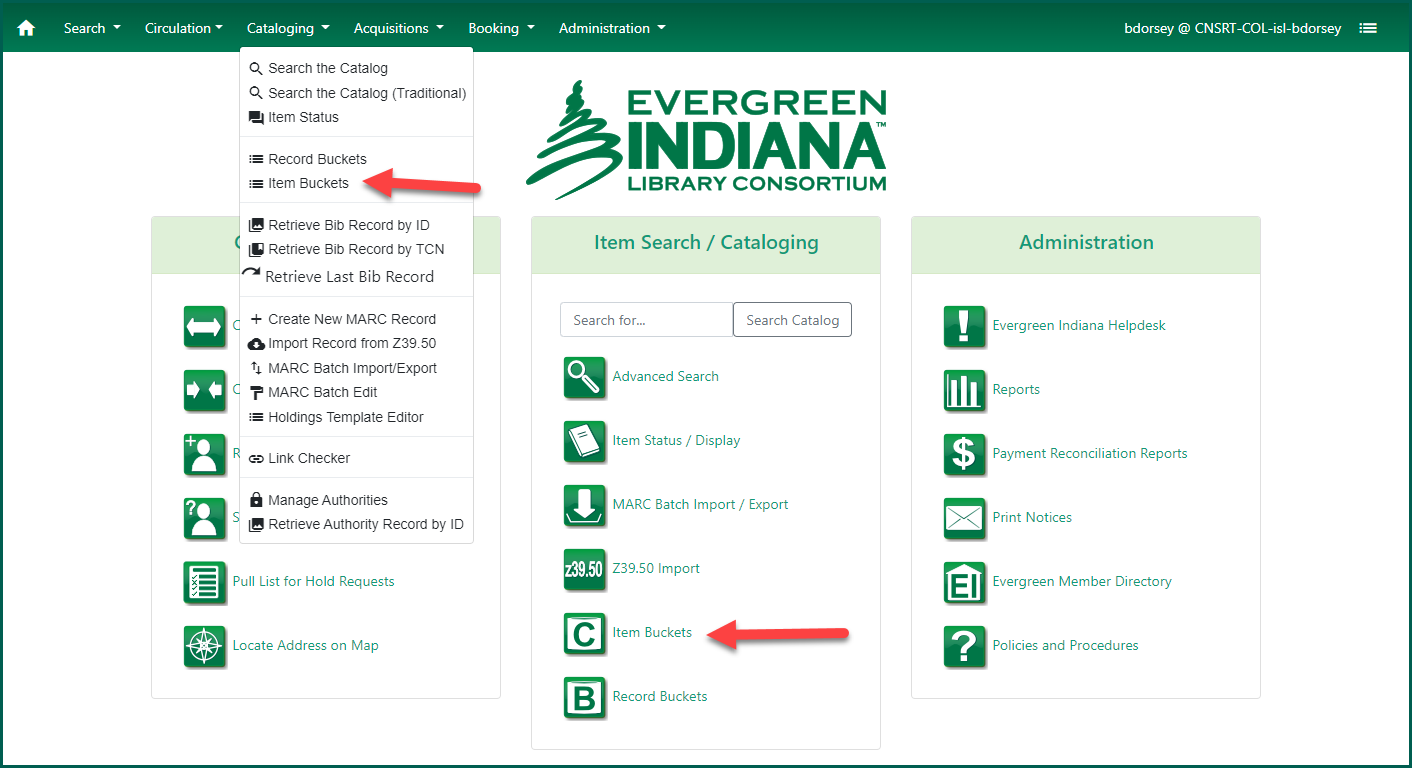
You can open the Item Bucket
By default, the item Bucket
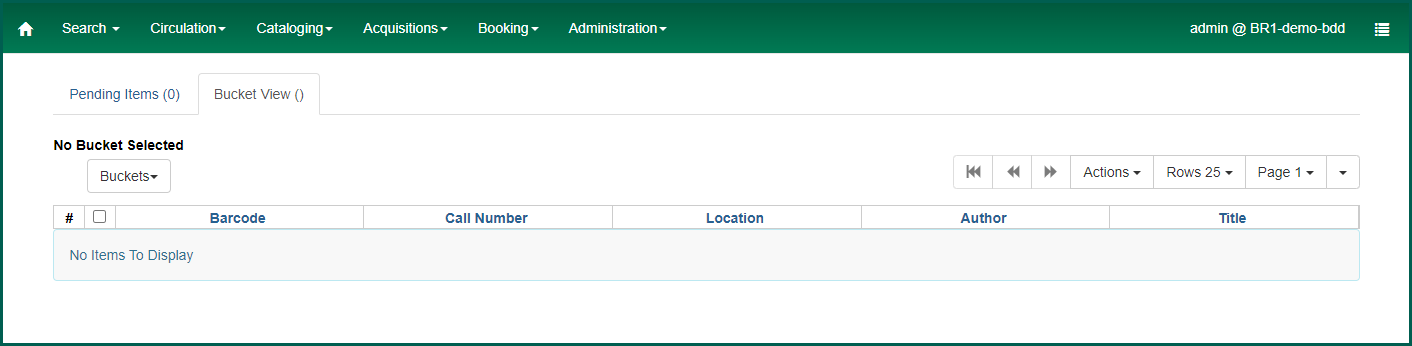
The parentheses next to each Bucket
Creating a new Item BucketThis is a virtual container of items. See also Record Buckets, Item Buckets, and User Buckets.
#
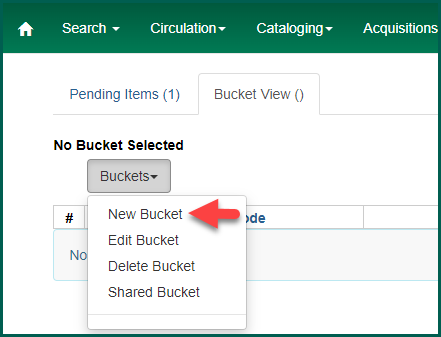
To create a new Bucket
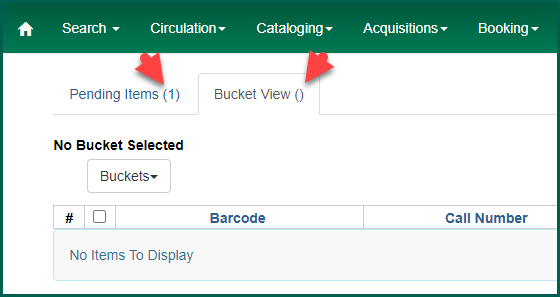
NOTE: You can manage buckets from either tab; however, you can only manage the items within a Bucket
The Create Bucket
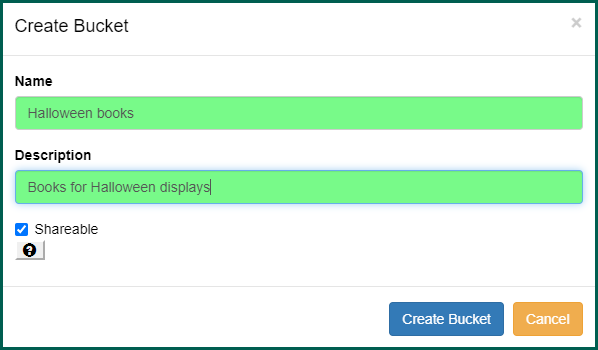
NOTE: Evergreen will not create a Bucket
Click Create Bucket
The Create Bucket
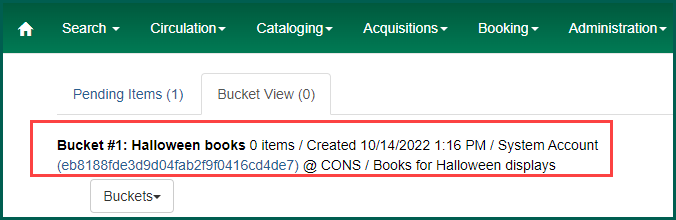
Viewing Item Buckets #
To view a Bucket
Your Bucket
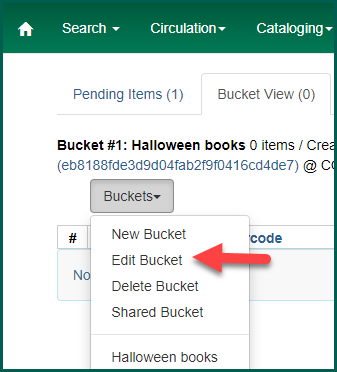
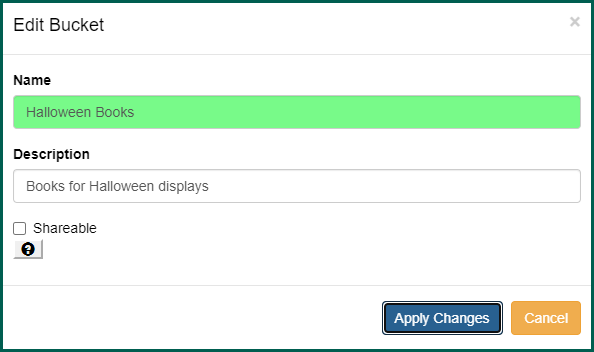
Editing Item Buckets #
To edit the name or description of an open item Bucket
The Edit Bucket
Adding items to Item Buckets #
Items may be added to item buckets via Holdings View or Item Status
From Holdings View #
From the Holdings View tab, select the item(s) you wish to add to an item Bucket
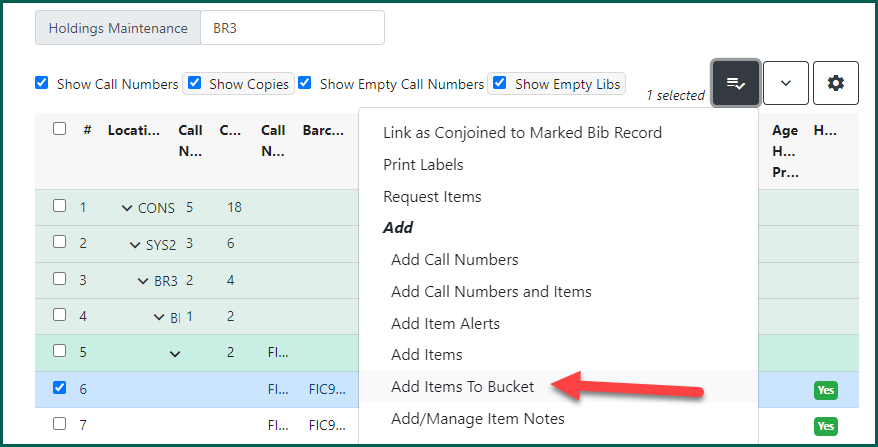
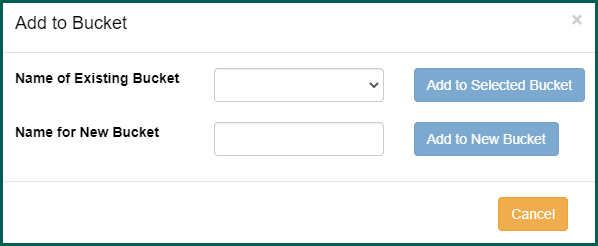
From the pop up, choose to add the item(s) to an existing Bucket
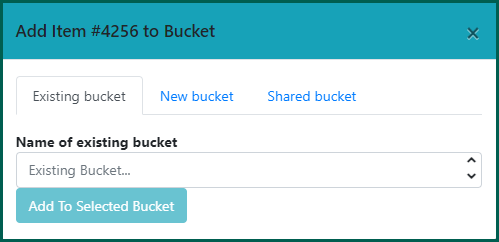
Click Add to Selected Bucket
From Item StatusItem Status allow syou to see the status of an item without having to go to the actual bibliographic record.
#
From Item Status

The Add To Bucket
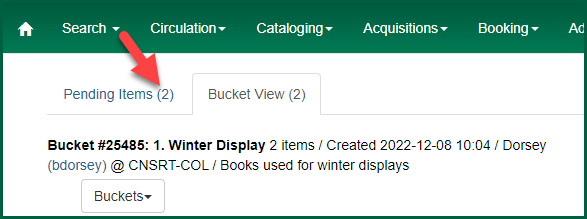
Adding Items to Item Buckets from the Pending Items Tab #
You can also scan items to transfer into a Bucket
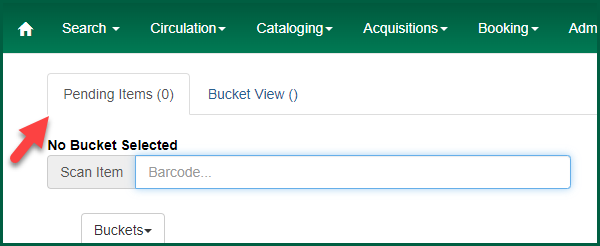
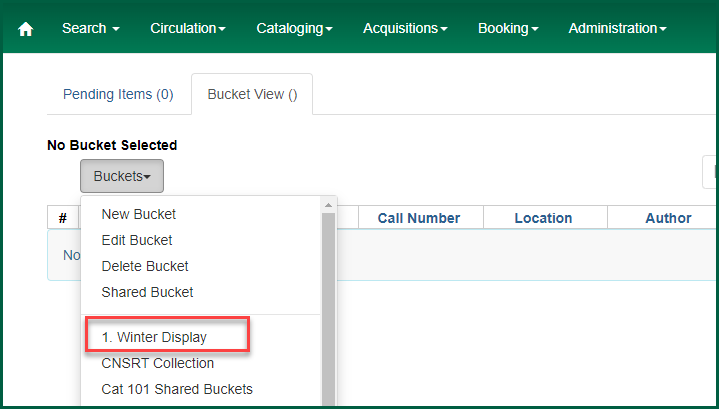
Click on the Buckets dropdown, and select the Bucket
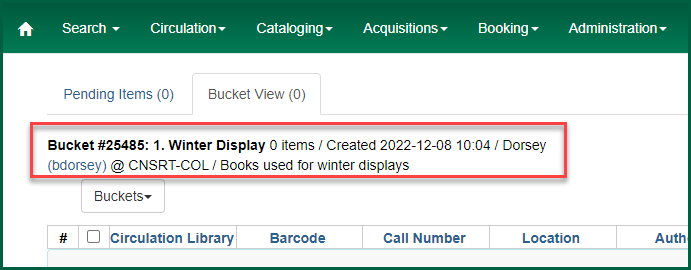
The currently selected cart information will display:
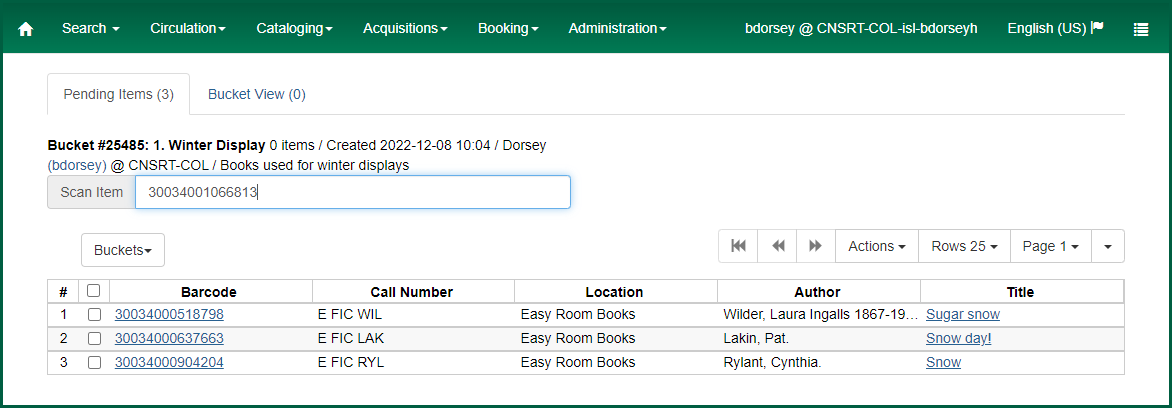
Scan, paste, or type barcode numbers into the Scan Item field. Press Enter if you aren’t using a scanner. The items will appear in the pending area:
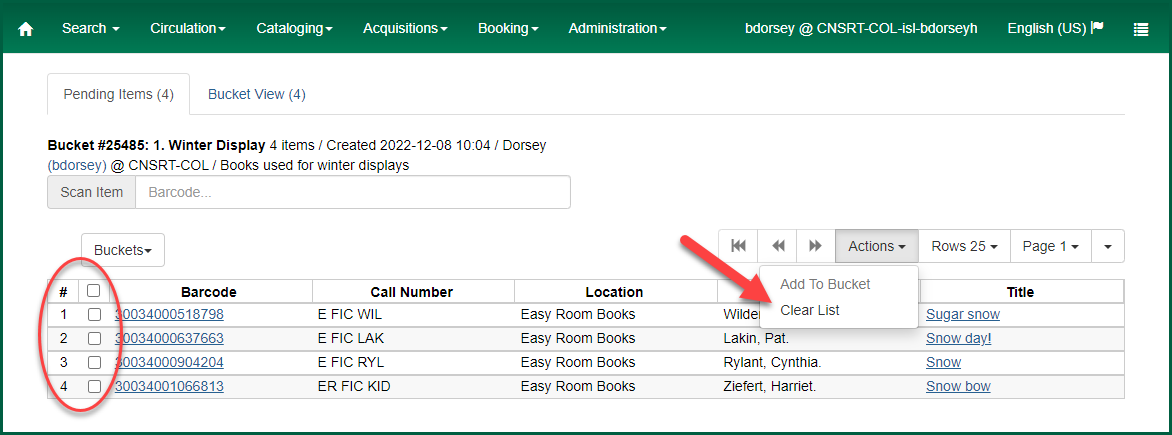
Select the item(s) that you want to add to the Bucket

The item(s) will be added to the Bucket
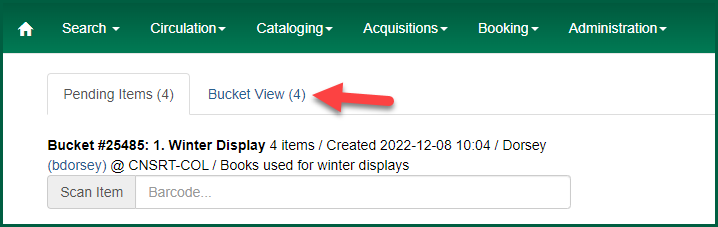
Items moved to an open Bucket
Using Item BucketThis is a virtual container of items. See also Record Buckets, Item Buckets, and User Buckets.
Action Tools #
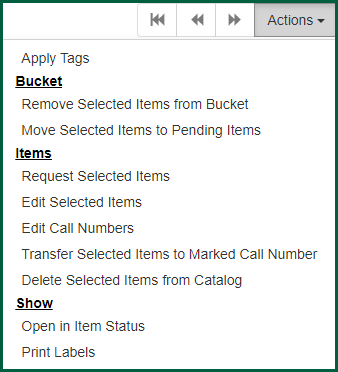
There are several tools available in the Item Bucket
NOTE: When you use these tools, your actions will apply to the items that you have selected.
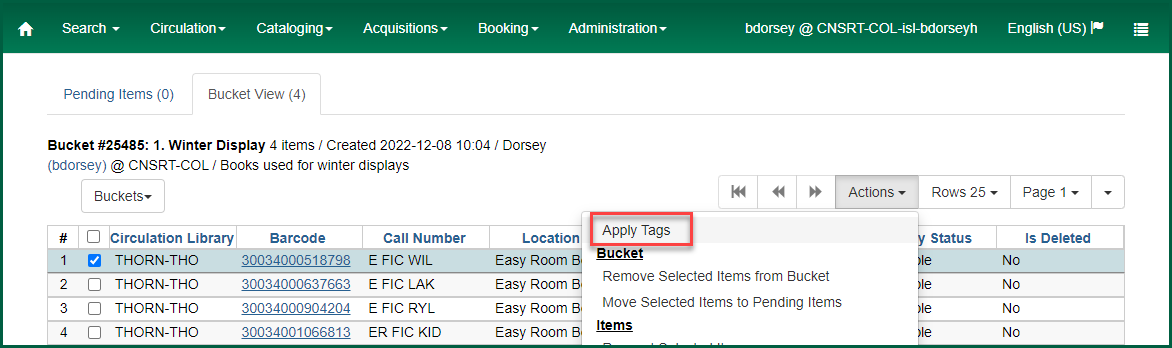
Apply Tags #
Tags may be added via an Item Bucket
Select from the available Tag Type to match your tag and begin entering a Tag Label. If a tag has been configured, it will appear as you type the label name.
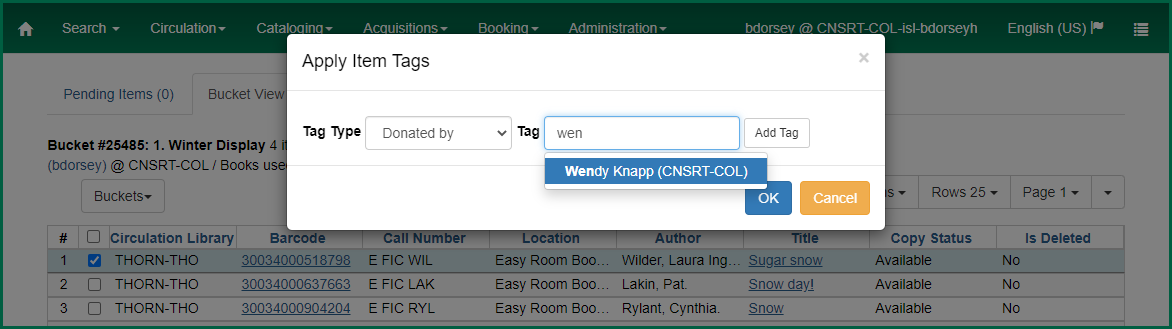
Click Add Tag to attach the tag to the item. Click OK when you’ve finished adding tags. See Item Tags for more information on Item Tags.
NOTE: Tags cannot be removed using the Item Bucket
Remove Selected Items from BucketThis is a virtual container of items. See also Record Buckets, Item Buckets, and User Buckets.
#
To remove items from an item Bucket
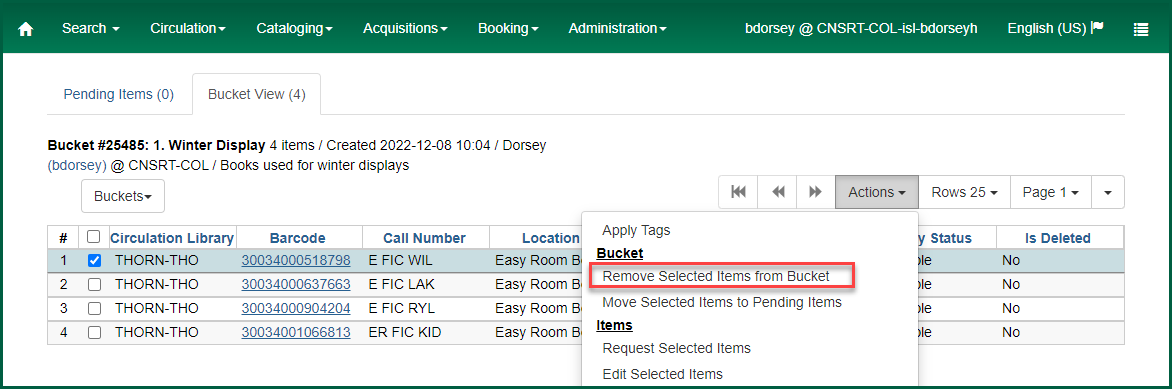
This is self-explanatory, as it will remove the selected items from the Bucket
Move Selected Items to Pending Items #
If you’d like to move items from one item Bucket
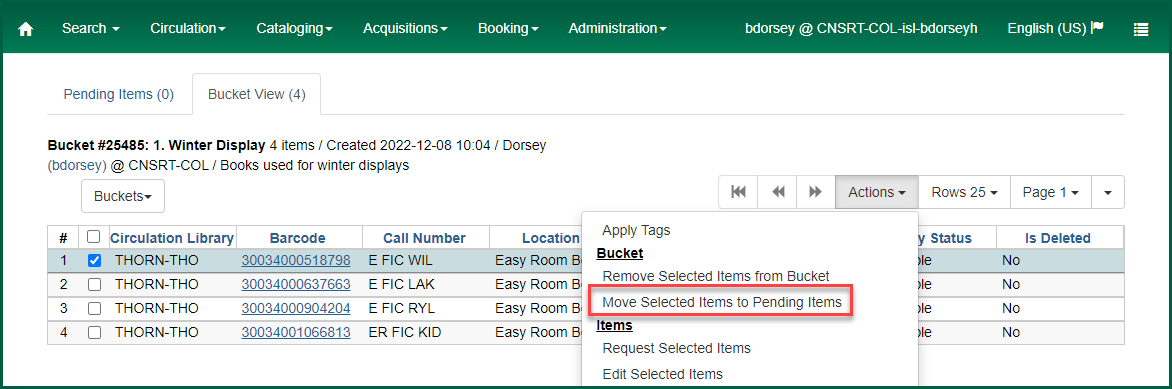
The item(s) will disappear and the number next to the Pending Items tab will change based on the number of items moved.
Now, you may add them to a new Bucket
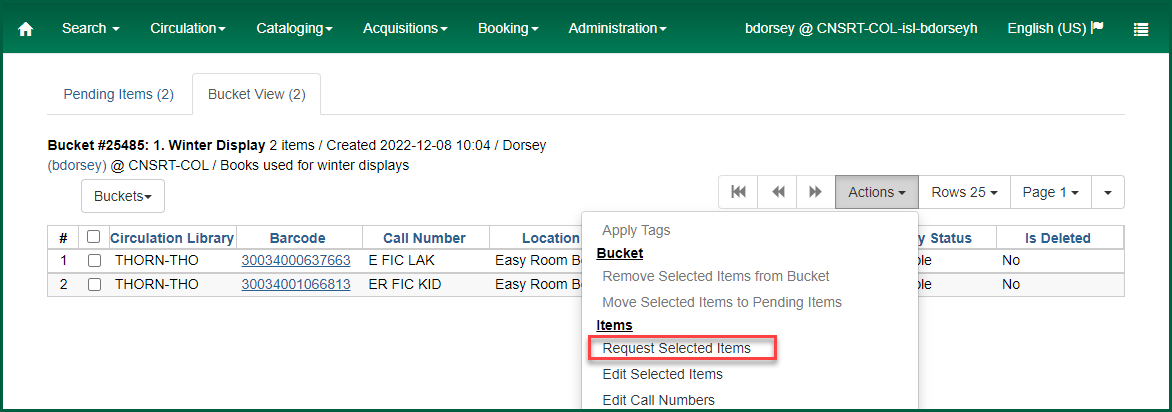
Request Selected Items #
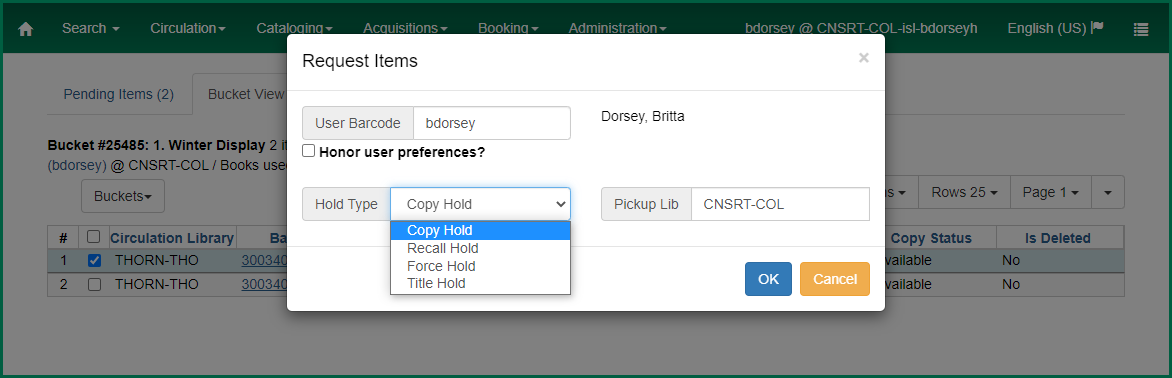
You may place a Hold A request placed by staff or patrons for materials to be picked up at a selected location (see Pickup Library).
You can select copy, recall,force, or title Hold A request placed by staff or patrons for materials to be picked up at a selected location (see Pickup Library).
A request placed by staff or patrons for materials to be picked up at a selected location (see Pickup Library).
A request placed by staff or patrons for materials to be picked up at a selected location (see Pickup Library).
TIP: You can enter another barcode in the User Barcode field to place the Hold A request placed by staff or patrons for materials to be picked up at a selected location (see Pickup Library).
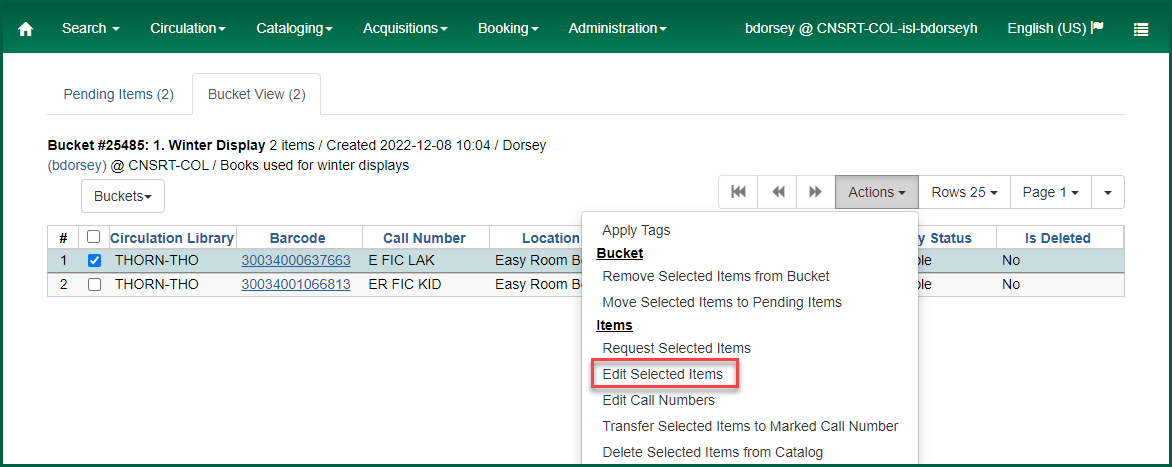
Edit Selected Items #
You may wish to edit an item’s attributes. To do so, select the item(s) and right-click or select Actions and choose Edit Selected Items.
The Holdings Editor will open in a new tab. Any changes you make will be applied to all the selected items. When finished, click Apply All, Save & Exit. The Holdings Editor will close.
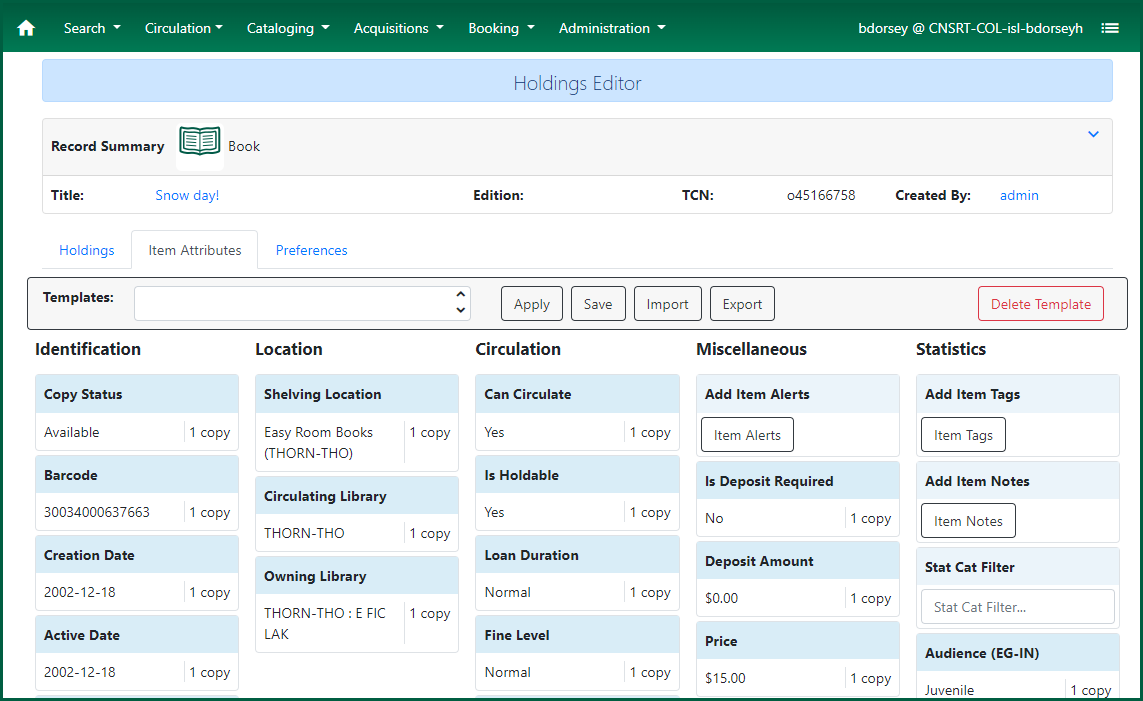
NOTE: Depending on your Holdings Editor preferences, clicking Edit Selected Items may open the Item Attributes tab or the unified Holdings tab. See the Holdings Editor for more information.
Edit Call Numbers #
You may wish to edit an item’s call number. To do so, select the item(s) from the Bucket
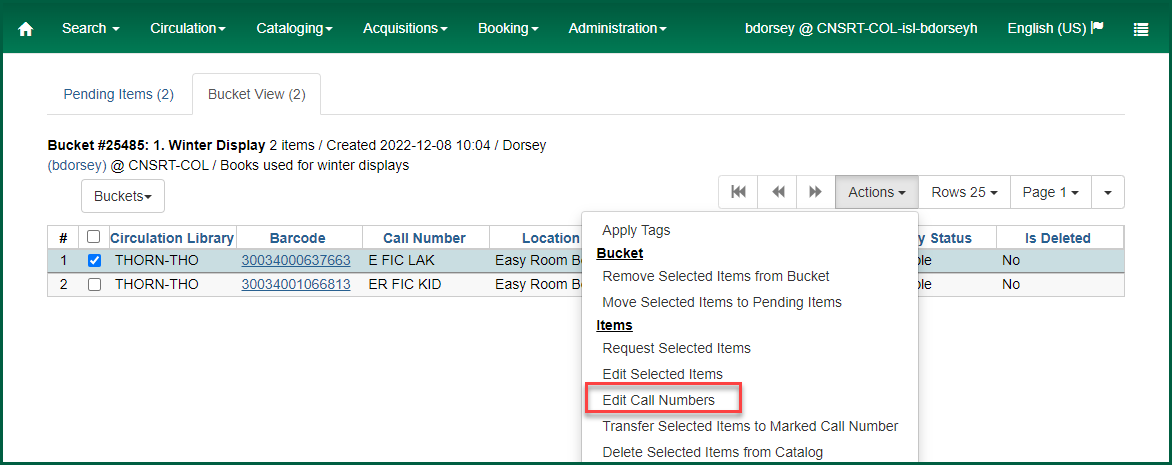
The Holdings Editor will open in a new tab. Make the changes to the listed call numbers, then select Apply All, Save & Exit. The Holdings Editor will close.
NOTE: Depending on your Holdings Editor preferences, clicking Edit Call Numbers may only show holdings information, or show item attributes as well.
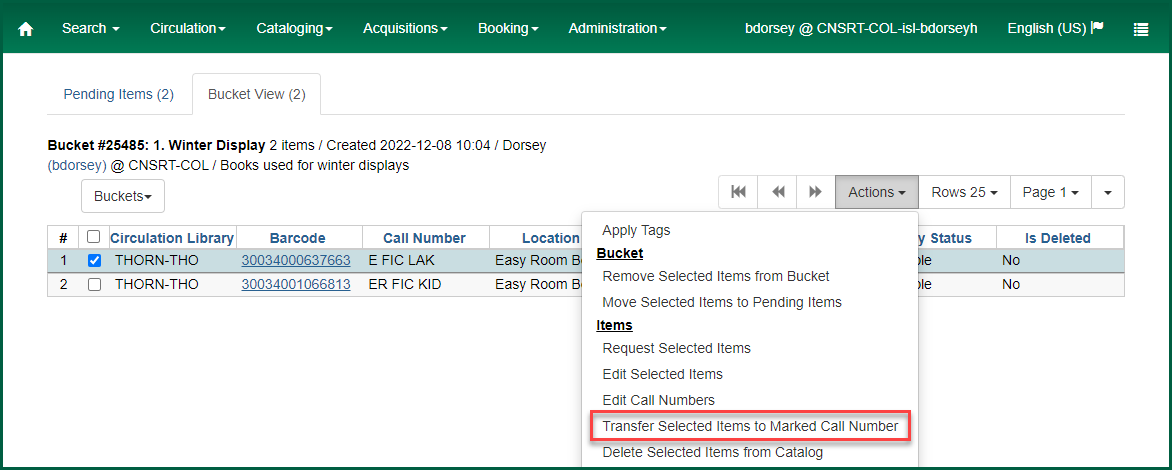
Transfer Selected Items to Marked Call Number #
To transfer an item to another call number that has already been marked as the transfer destination, select the item and right-click or select Actions and choose Transfer Selected Items to Marked Call Number.
Delete Selected Items from Catalog #
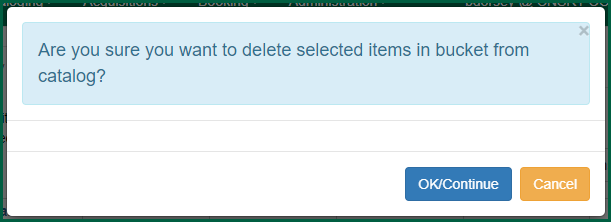
To delete items from the catalog within an item Bucket
NOTE: If the item is the only on that record at your library with that call number, the call number will be deleted as well. If the item is the last one attached to the Bibliographic record
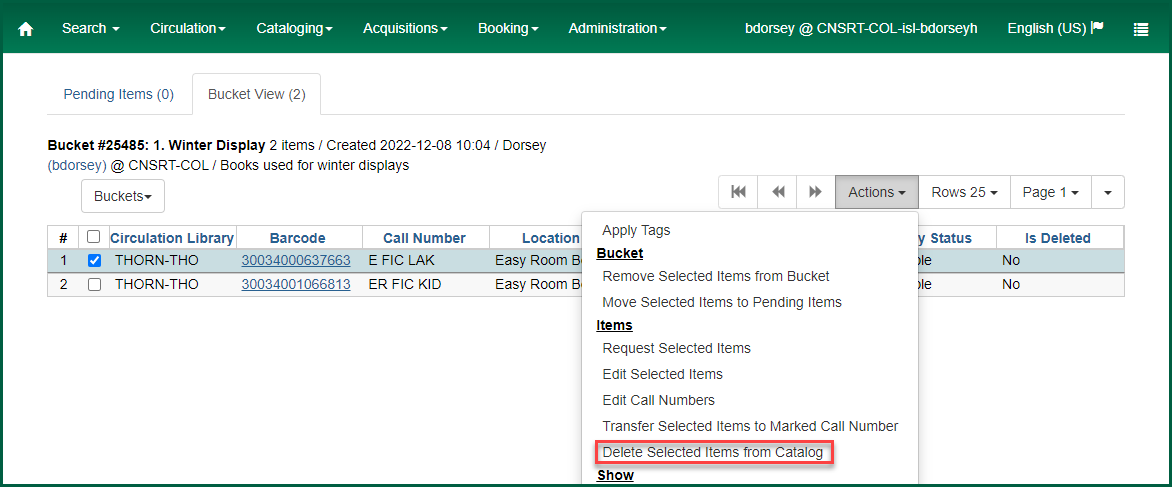
A dialog box will open asking if you really want to delete these items:
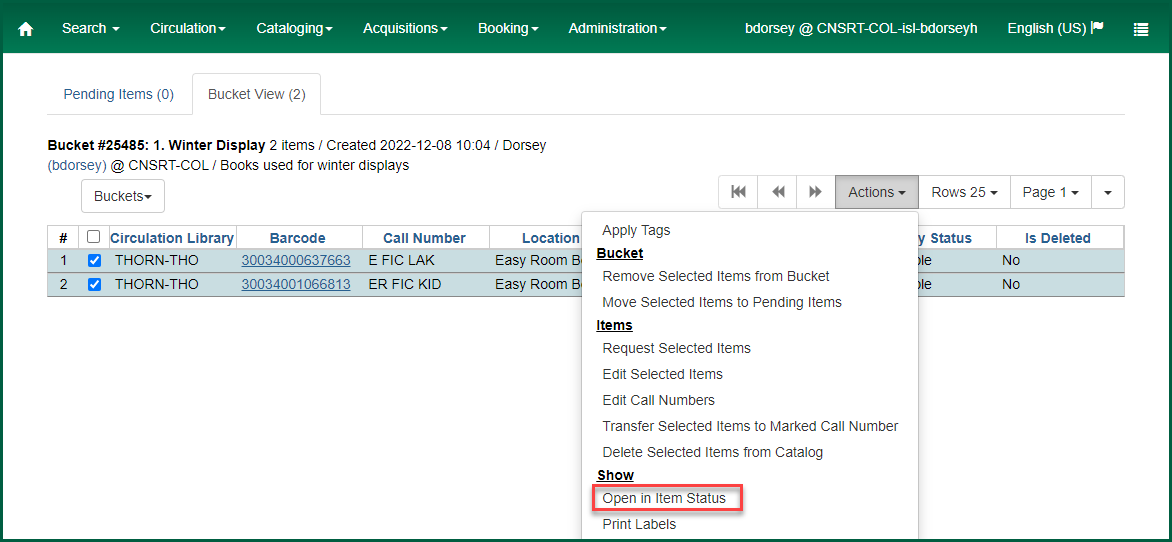
Open in Item StatusItem Status allow syou to see the status of an item without having to go to the actual bibliographic record.
#
You may open selected items in Item Status
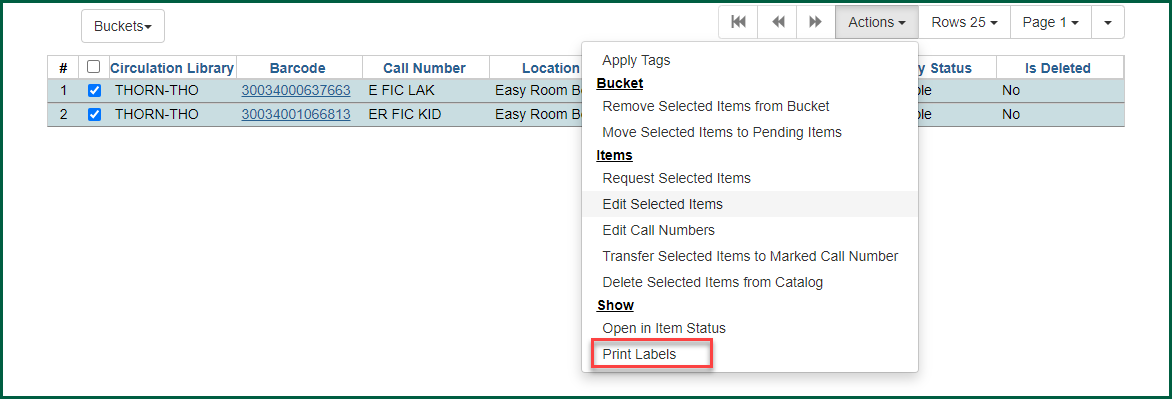
Print Labels #
You have the ability to open the Print Labels module through Item Buckets. To do so, select the items you wish to print labels for, and right-click or select Actions and choose Print Labels.
Sharing Item Buckets #
All item buckets marked shareable can be viewed by other staff members, even those at other libraries, if they know the Bucket
NOTE: Buckets which are not marked Shareable can be viewed by any staff member with a log-in which has VIEW_CONTAINER permissions. This includes catalogers, circ1, and admin.
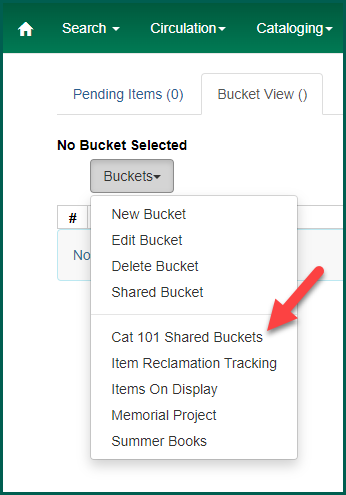
To view an Item Bucket

To view a shared item Bucket
A dialog box will open. Enter the Bucket
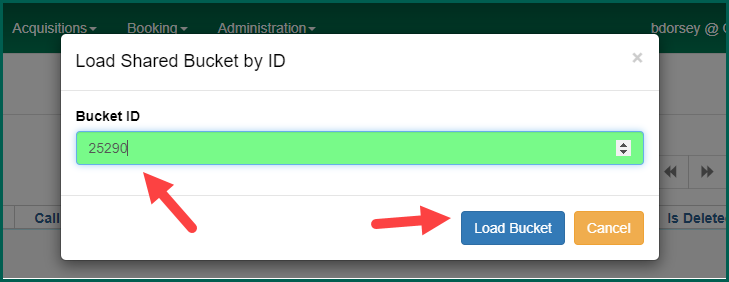
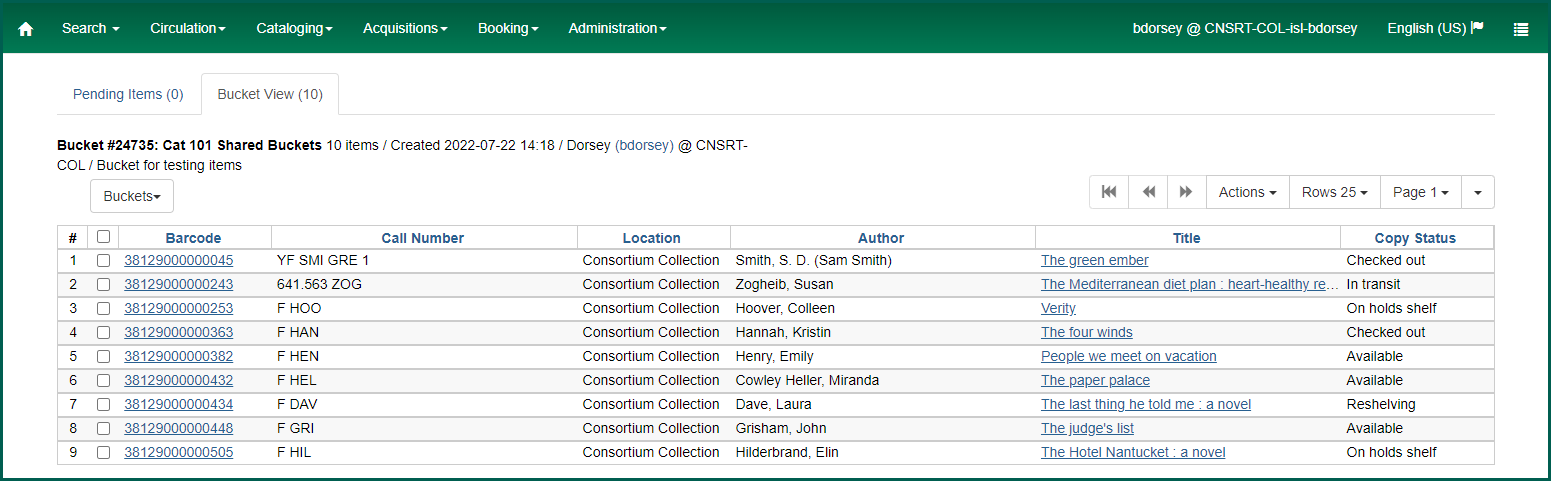
The Bucket
NOTE: Only the Bucket
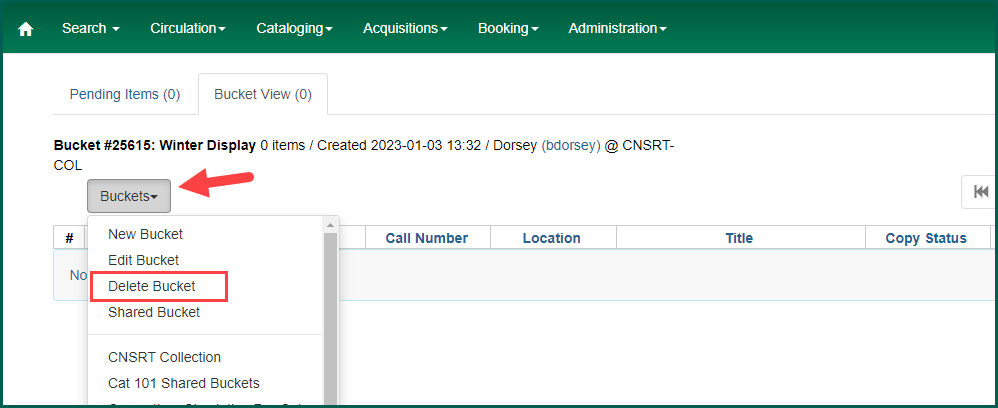
Deleting Item Buckets #
Deleting a Bucket
Open the Bucket
Once your Bucket
A dialog box will open asking if you are sure you wish to delete the Bucket
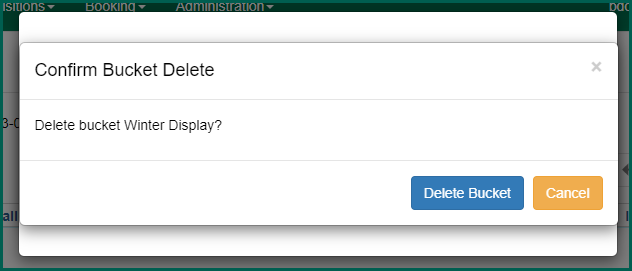
The dialog box will close. Nothing else will appear to happen, but your Bucket
Your Bucket